INSTALLATION GUIDE

How to Install Face Lit Channel Letter Signs

Face lit channel letters, also called front lit channel letters, glow through the acrylic face of each letter, and this guide shows you how to install them from template to final test.

This installation video demonstrates a direct or flush mount installation with two hardware options: threaded studs and side angle brackets or clips.
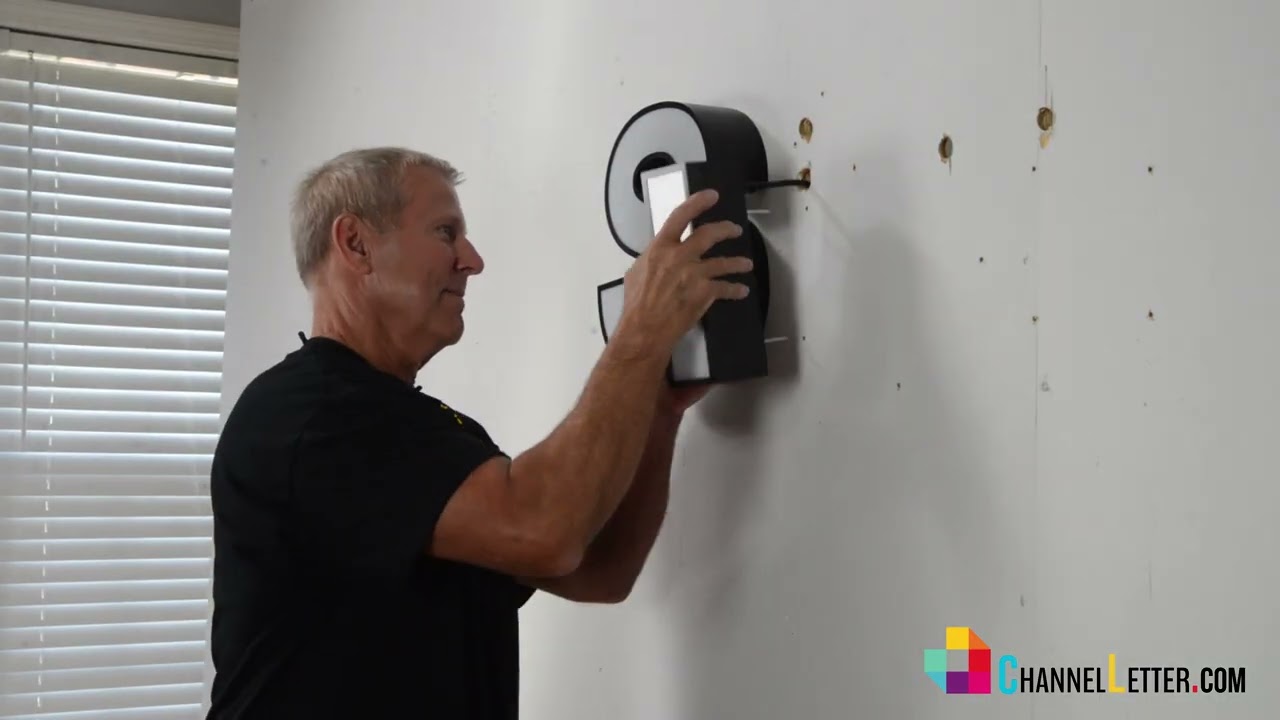
face lit channel letters and log - How to install face lit channel letter signs

WATCH THE PROCESS

Watch the Installation Video

Video chapters

0:18

Tape the full-size Installation Template to the wall

0:32

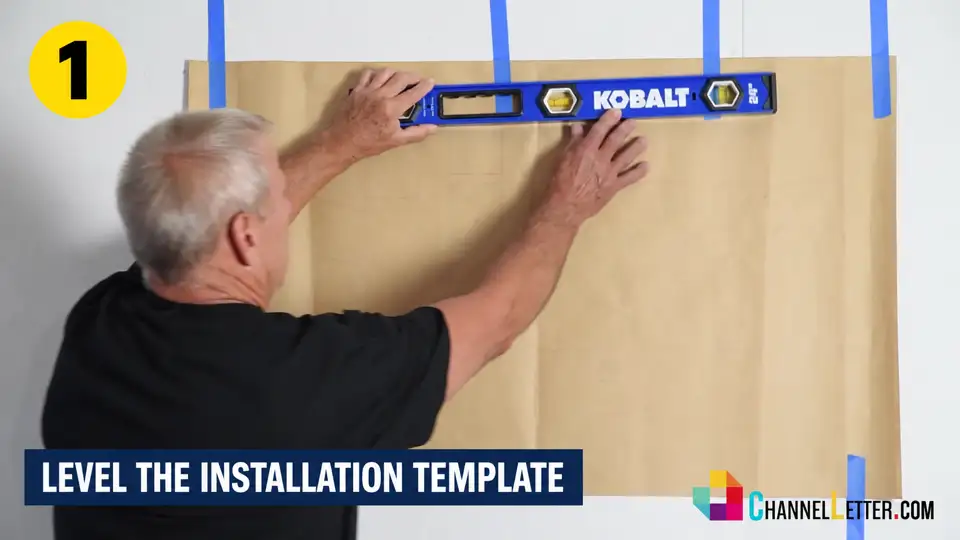
Level the Installation Template

0:40

Mark mounting and wire-pass locations

0:58

Drill the marked locations

1:10

Remove the Installation Template

1:31

Prepare the threaded-stud mounting method

1:44

Place the first letter on the wall

1:54

Introduce the angle bracket / clip method

2:40

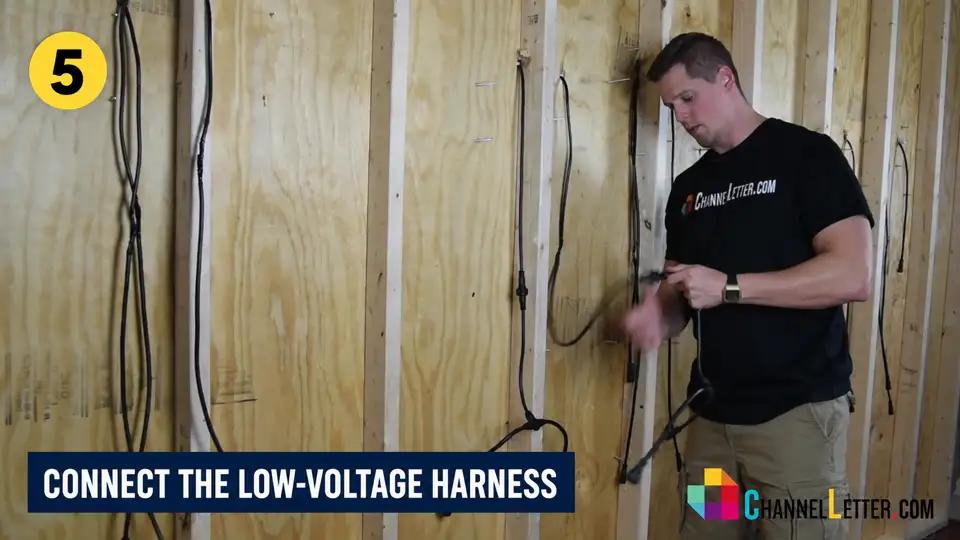
Connect the low-voltage harness

3:24

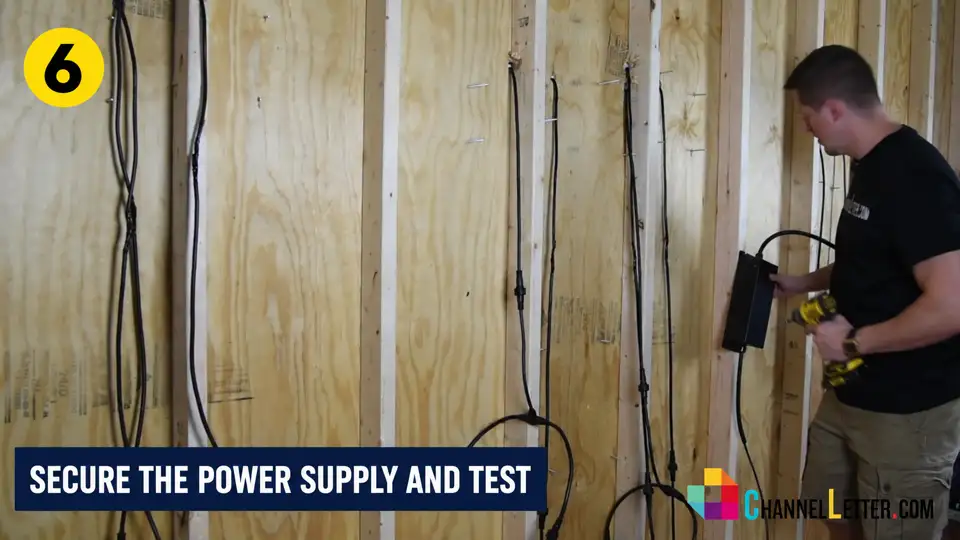
Secure the power supply

3:50

Energize and confirm illumination

QUICK ANSWER

Face Lit Channel Letter Installation: Quick Answer

STEP 1

Install the Letters

A direct-mount face lit sign is installed one letter at a time. First, tape and level the full-size Installation Template. Mark and drill the specified mounting and wire-pass locations. Feed each letter’s low-voltage lead through the wall, position the letter, and secure it with the approved threaded studs or angle brackets.

STEP 2

Connect and Test

Behind the wall, connect the letter leads to the supplied harness, secure the power supply in its approved location, complete the building-power connection, seal required penetrations, and test every letter.

How to Install Face Lit Channel Letters
face lit installation step 01 level pattern - How to install face lit channel letter signs
- How to install face lit channel letter signs

VIDEO REFERENCE: 0:18

Position and Level the Installation Template

Tape the supplied full-size Installation Template at the approved sign location. Check the overall width, baseline, centerline, surrounding clearances, and relationship to architectural features. Use a level across the template to level it, then recheck measurements before drilling any hole locations.

Installer check: Do not assume the top edge of the wall, storefront frame, or ceiling line is level. Set the sign from the approved reference dimensions.

- How to install face lit channel letter signs

VIDEO REFERENCE: 0:40

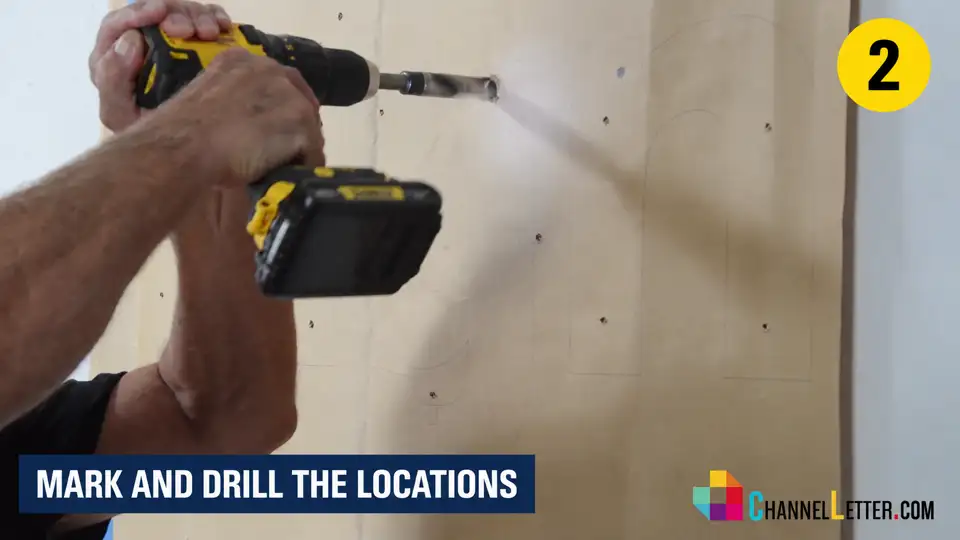
Mark and Drill the Mounting and Wire Locations

Drill through every specified mounting point and wire-pass location through the template. Confirm that the marks correspond to the correct letter and that the proposed holes avoid known utilities and prohibited areas. Drill only after identifying the wall construction and selecting the approved bit, hole size, anchor, and penetration preparation.

face lit installation step 02 mark drill - How to install face lit channel letter signs
face lit installation step 03 route mount - How to install face lit channel letter signs
- How to install face lit channel letter signs

VIDEO REFERENCE: 1:44

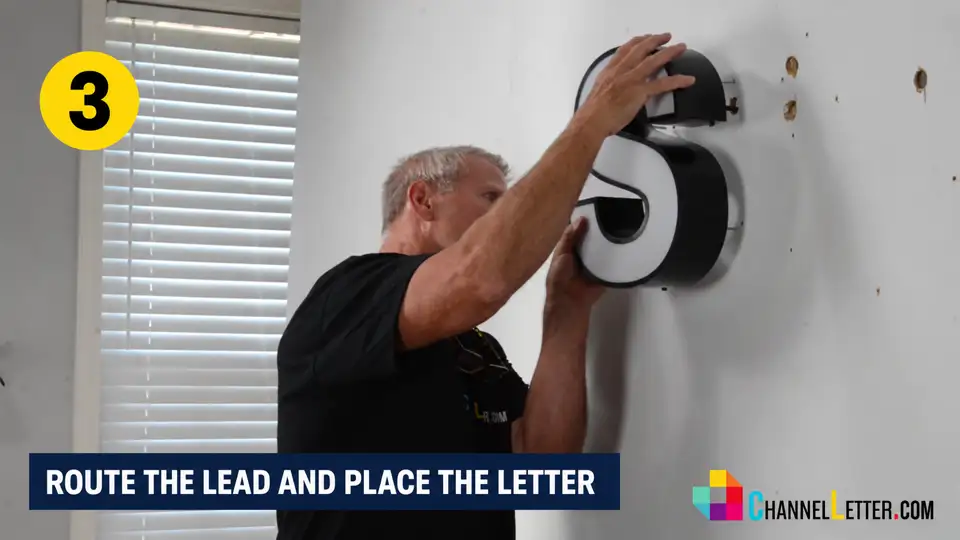
Route the Lead and Place Each Letter

Identify the correct letter, its mounting hardware, and its lead location before lifting it into place. Feed the low-voltage lead through the designated opening without pulling on the internal connection. Protect the wire from sharp edges and abrasion, then align the letter to the transferred marks and seat it squarely against the mounting surface or specified spacers.

Handling: Support the letter while routing the lead. Do not allow the letter’s weight to hang from the wire.

- How to install face lit channel letter signs

VIDEO REFERENCE: 1:31 & 1:54

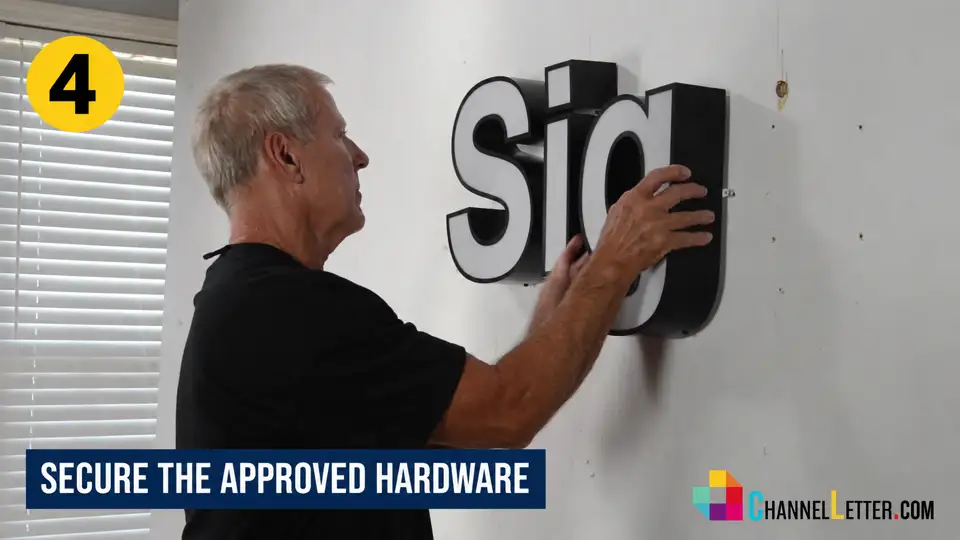
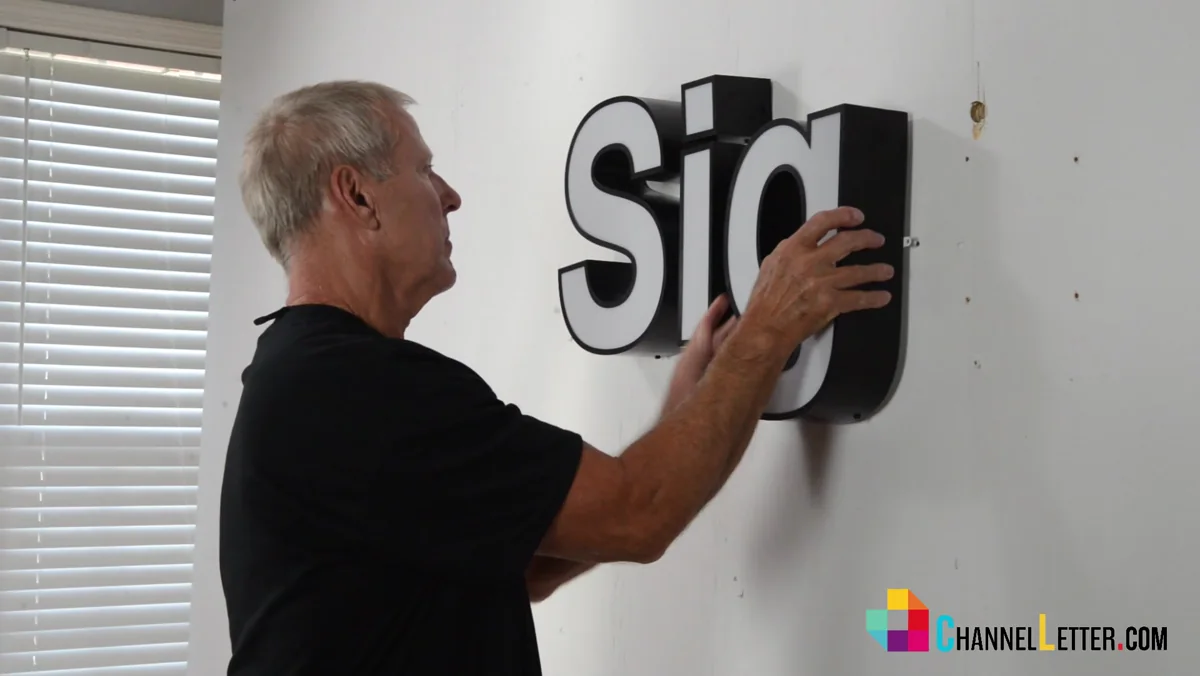
Secure the Approved Mounting Hardware

The demonstration shows two direct-mount options. With the threaded stud method, studs project from the letter back and pass through the prepared mounting holes. With the angle bracket or clip method, side-mounted brackets are aligned to the wall and secured with the specified fasteners. Tighten evenly so the letter remains aligned and the cabinet is not distorted.

face lit installation step 04 secure hardware - How to install face lit channel letter signs

Two Mounting Methods Shown

face lit threaded stud mount - How to install face lit channel letter signs

Threaded stud mount

Screw in the studs to the stud holes in the letter or logo. Studs project from the letter back and pass through the drilled Installation Template locations.

face lit angle bracket clip mount - How to install face lit channel letter signs

Angle bracket / clip mount

Side-mounted brackets or clips are aligned and secured with screws to the installation surface.

face lit installation step 05 harness connections - How to install face lit channel letter signs
- How to install face lit channel letter signs

VIDEO REFERENCE: 2:40

Connect the Low-Voltage Plug & Play wires

From the service side of the wall, organize the individual letter leads and connect them to middle wire of the supplied plug-and-play T-wires. Then connect each end of the T-wires with each other in series connection. connect the last T-wire to the Transformer.

- How to install face lit channel letter signs

VIDEO REFERENCE: 3:24 & 3:50

Secure the Power Supply and Test

Mount the power supply in the protected and serviceable location. Connect the power supply to the power source. Turn the power on and confirm that every letter illuminates.

face lit installation step 06 power test - How to install face lit channel letter signs

What about raceway or backer-panel mounting?

This video does not demonstrate those systems. A raceway groups the letters and electrical components on a metal enclosure that attaches to the facade. A backer panel mounts the letters to a larger panel before the assembly is attached to the building. Use the instructions for the mounting system supplied with your order instead of applying these direct-mount steps to a different system.

BEFORE HANDOFF

Final Inspection
face lit installation final check - How to install face lit channel letter signs
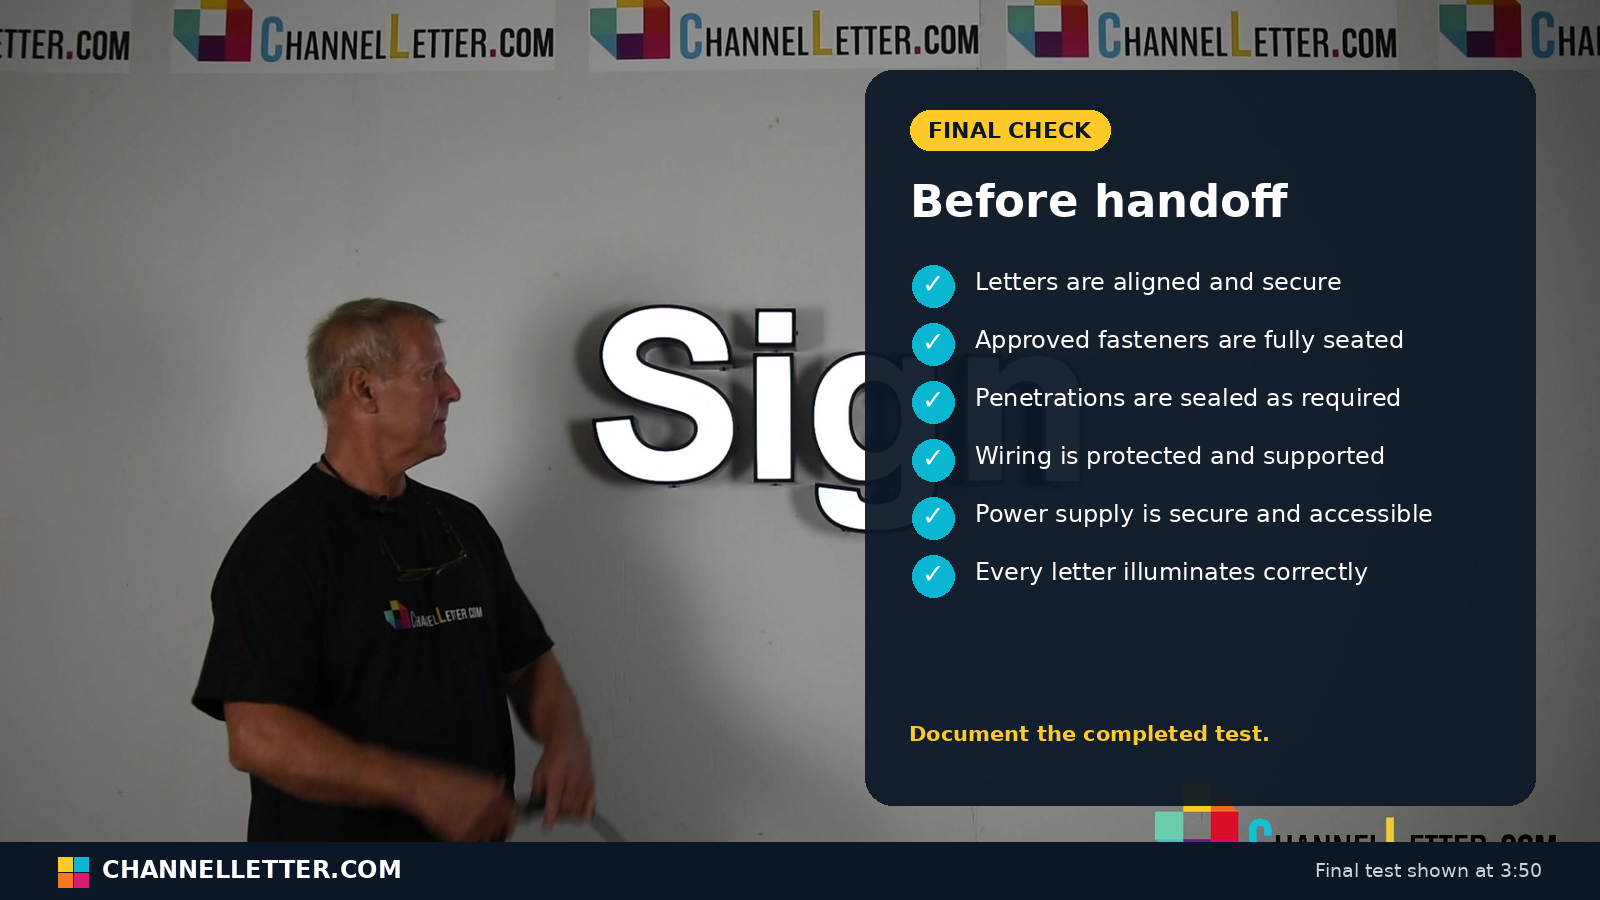
  • The logos and individual letters are leveled, evenly spaced and oriented correctly.
  • Each letter is secure and the cabinet is not distorted.
  • Required exterior penetrations are sealed and the wall system remains weather-managed.
  • Wiring is protected, supported and kept away from sharp edges.
  • The power supply is secure, protected and serviceable as required.
  • Every letter illuminates consistently and the completed test is documented.

TROUBLESHOOTING

If a Letter Does Not
Illuminate

- How to install face lit channel letter signs

Turn the power off before inspecting connectors or enclosures.

- How to install face lit channel letter signs

Ensure that the all the connections of the Plug & Play wires are connected securely.

- How to install face lit channel letter signs

Check for pinched or cut wires

- How to install face lit channel letter signs

Have a qualified person verify the power supply and building-power side with suitable test equipment.

- How to install face lit channel letter signs

Contact ChannelLetter.com support with the order information, photos and a description of the issue before replacing components.

Face Lit Channel Letter Installation FAQs

The video shows direct or flush mount installation of individual letters. It demonstrates both threaded studs and side angle brackets/clips. It does not demonstrate raceway or backer-panel mounting.

The full-size 1:1 Installation Template establishes the sign’s position and transfers the intended mounting and wire-pass locations to the wall. Confirm its dimensions, centerline, and level before drilling.

The selection of method is your choice.  If you need to hide the clips and screws connection to the installation surface, use the threaded screws.  If you do not mind the clips and screws being visible and want an easy installation, choose the angle bracket/clips.  

They must match the wall construction, loads, approved attachment detail, and site conditions. The video does not specify a universal anchor or bit.
It should be secure, protected, and serviceable, with clearances and access maintained as required.
Turn power off, check the supplied connections and look for a loose, pinched, or wire. Have a qualified person test the power side and contact support before substituting parts.
No. Raceway and backer-panel systems use a different mounting and wiring layout. Use the instructions and video for the mounting system supplied with your order.

START YOUR PROJECT

Ready to Design Your Face Lit Sign?

Design in minutes using our easy online sign designer.

Click here if you have a Custom Design, logo upload or need help with your Sign Design.