
INSTALLATION GUIDE
How to Install Channel Letter Signs
Step-by-Step Video Guides
Channel letters are individual three-dimensional letters that make up a sign, and each letter is installed independently.
Exactly how to install channel letters depends on your sign type, mounting surface and whether you’re using a direct mount, raceway or backer panel. Use the guides below to learn the best method for your specific sign.
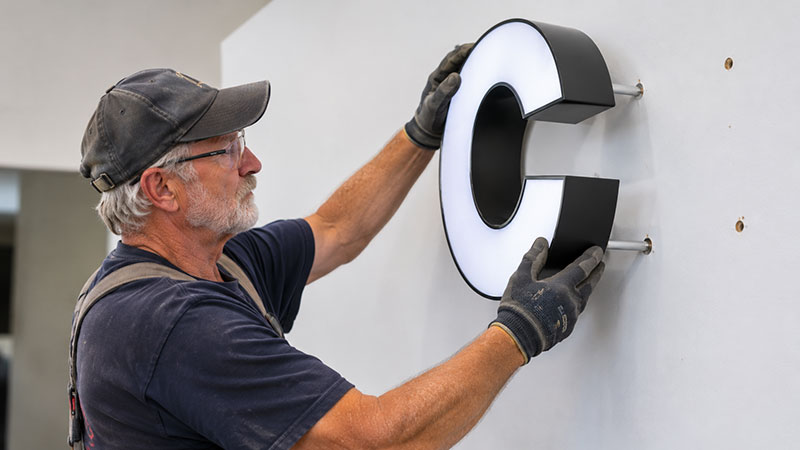
Choose Your Installation Guide
Select your sign type to view the video and written steps.




What Ships With Your Sign



How Channel Letter Sign Installation Works
The same five steps apply to almost every sign. Each guide shows them on camera for your sign type.
1
2
3
4
5
Can I Install Channel Letters Myself?
Direct Mount, Raceway or Backer Panel?
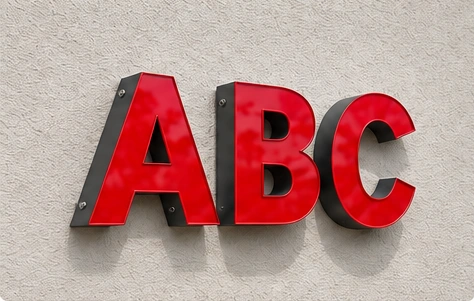
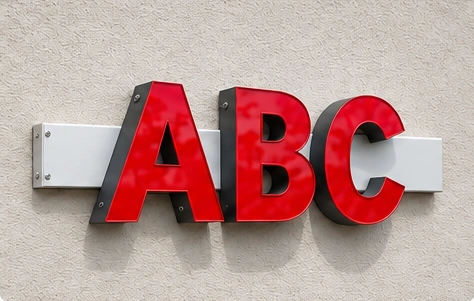
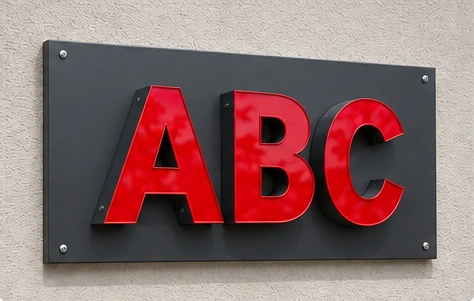
Not sure which mounting method fits your building? These two guides explain it:
Prefer to watch first? Here are all four installation videos. Each guide page has the same video plus the written steps.
Watch Your Installation Video
Choose your sign type to watch the installation. Open the full guide for written steps.
Channel Letter Installation FAQs
Before You Start
- Check whether you need a sign permit. Many cities and landlords require one for exterior signs. We provide permit drawings on request.
- Have a licensed electrician make the connection to building power. The guides cover the sign-side wiring only.
- Check what is behind the wall before you drill: wiring, plumbing and structure.
- Follow your approved shop drawing for spacing, hardware and wall details.
- Use the right tools: a level, tape and a drill are all you will see in the videos.
- Stop if something does not fit. Do not force a stud or a letter. Contact support with your order information and photos first.
Illuminated signs are UL certified and come with a 2-year warranty, so if something does not light, contact us before you replace parts.