
INSTALLATION GUIDE
How to Install Front and
Back Lit Channel Letters
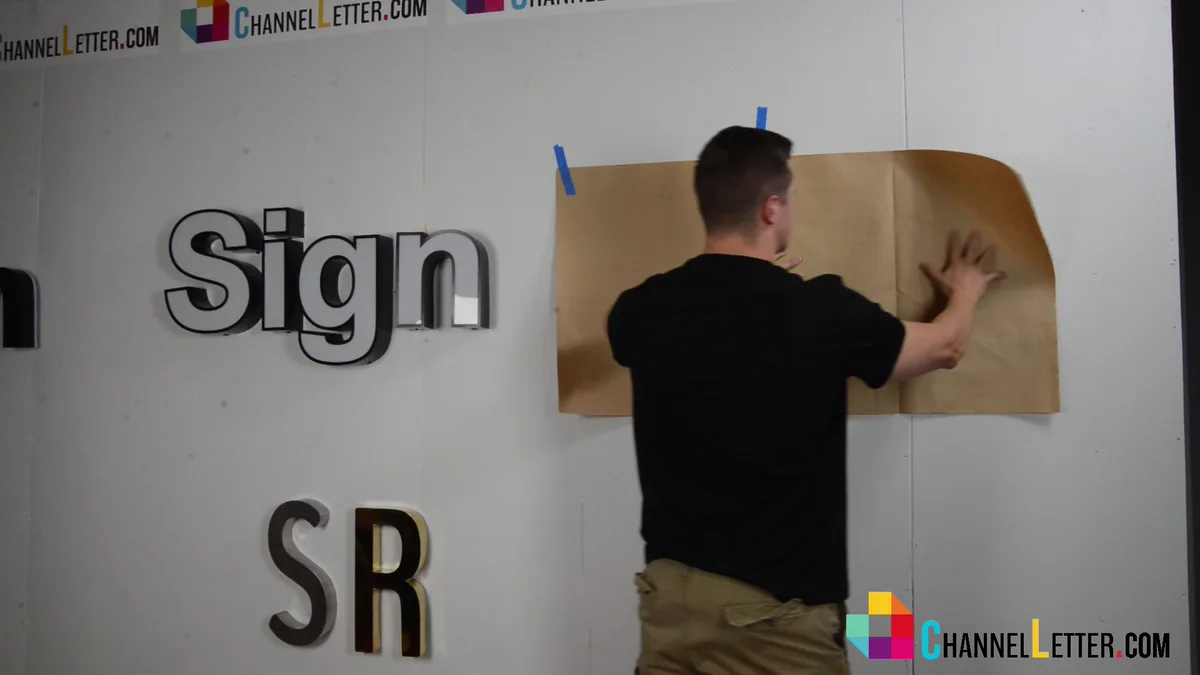
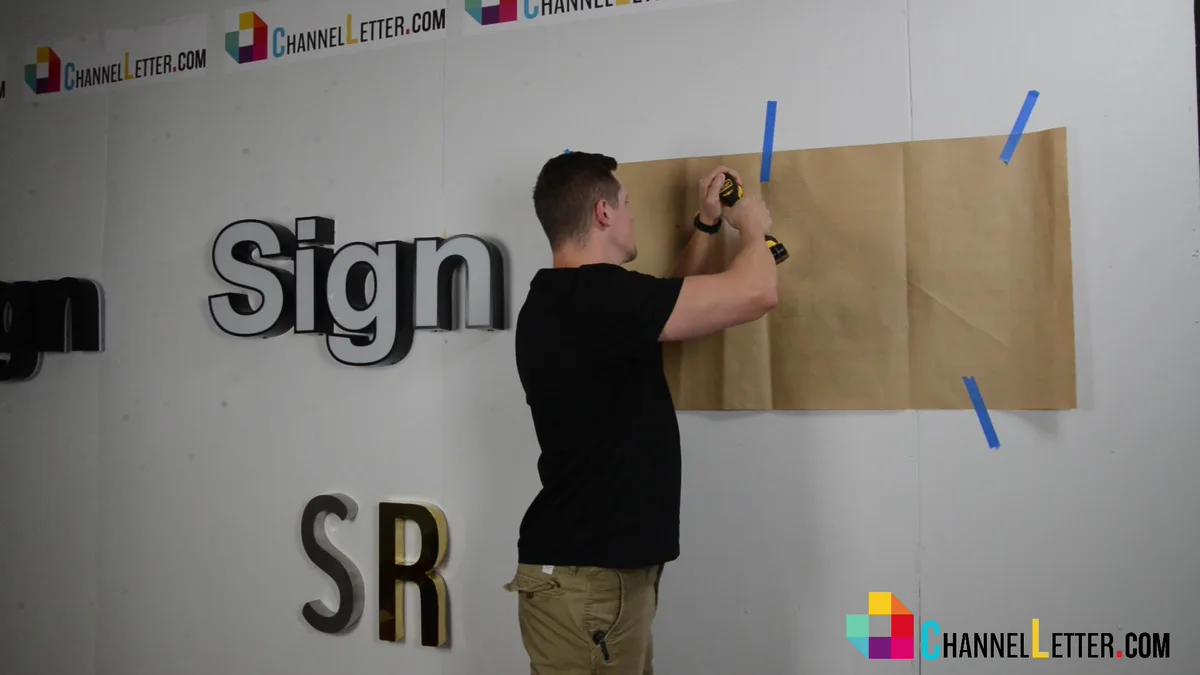
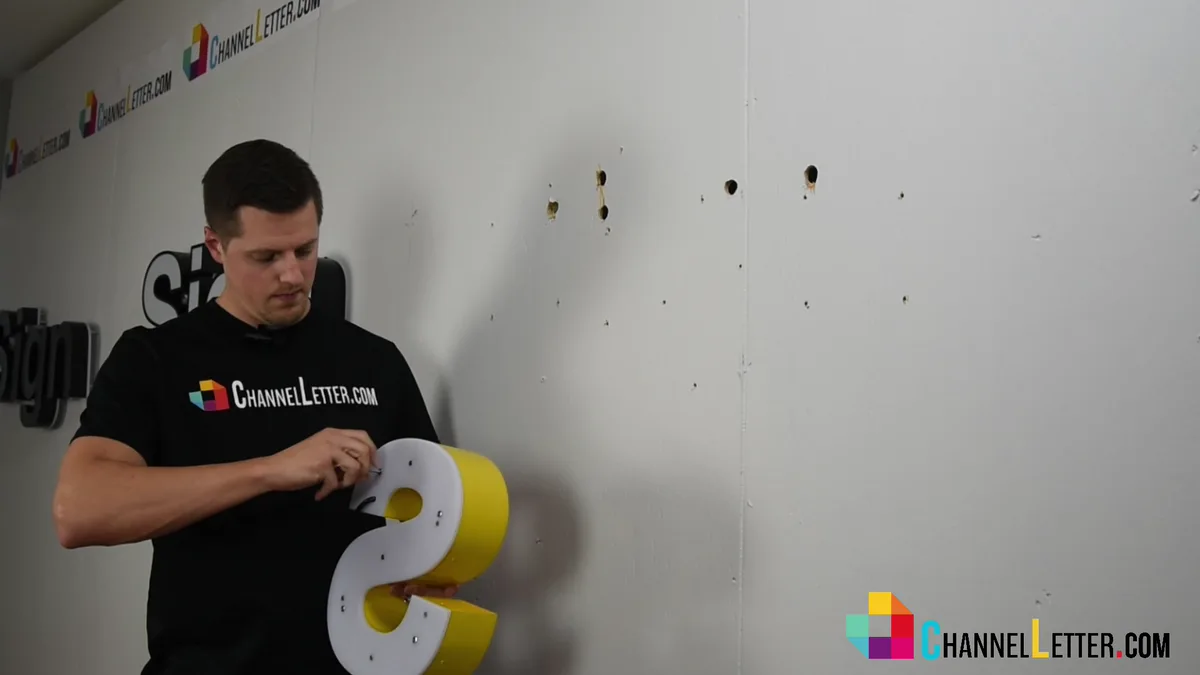
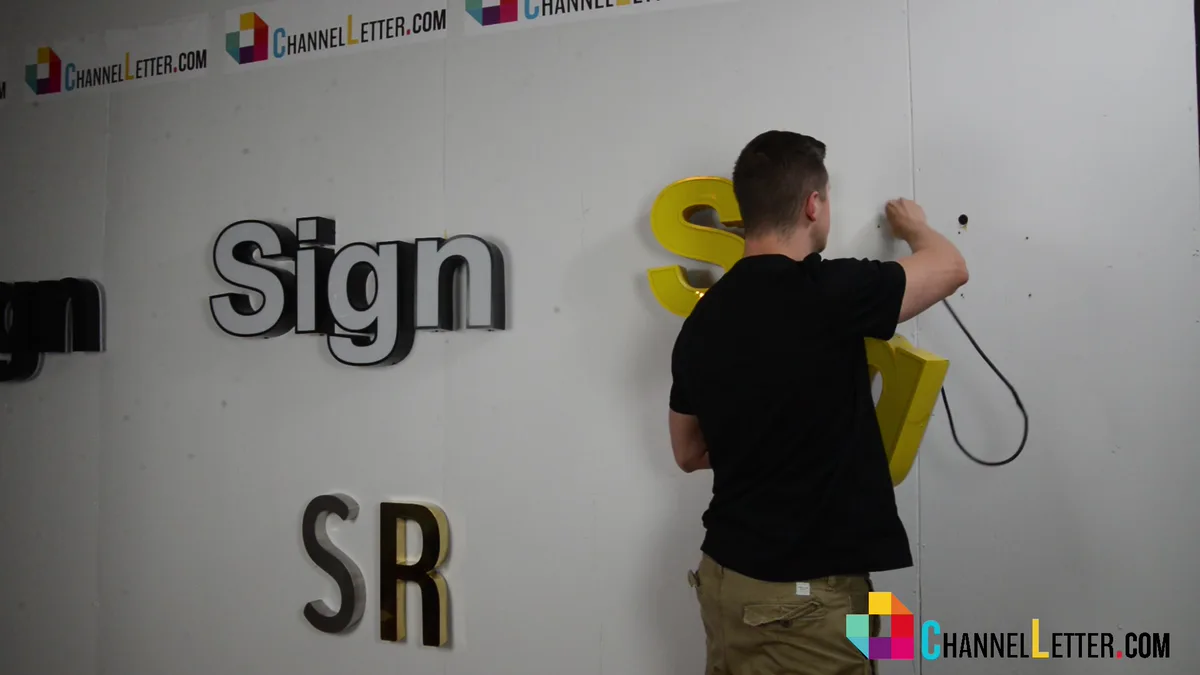
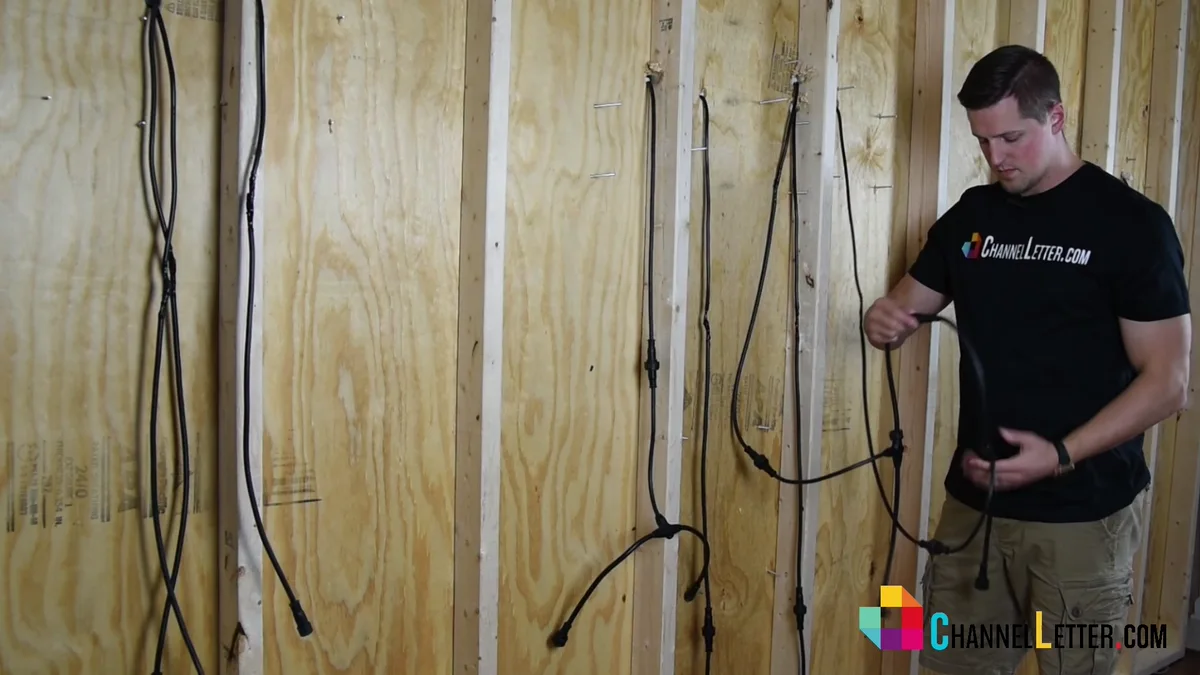
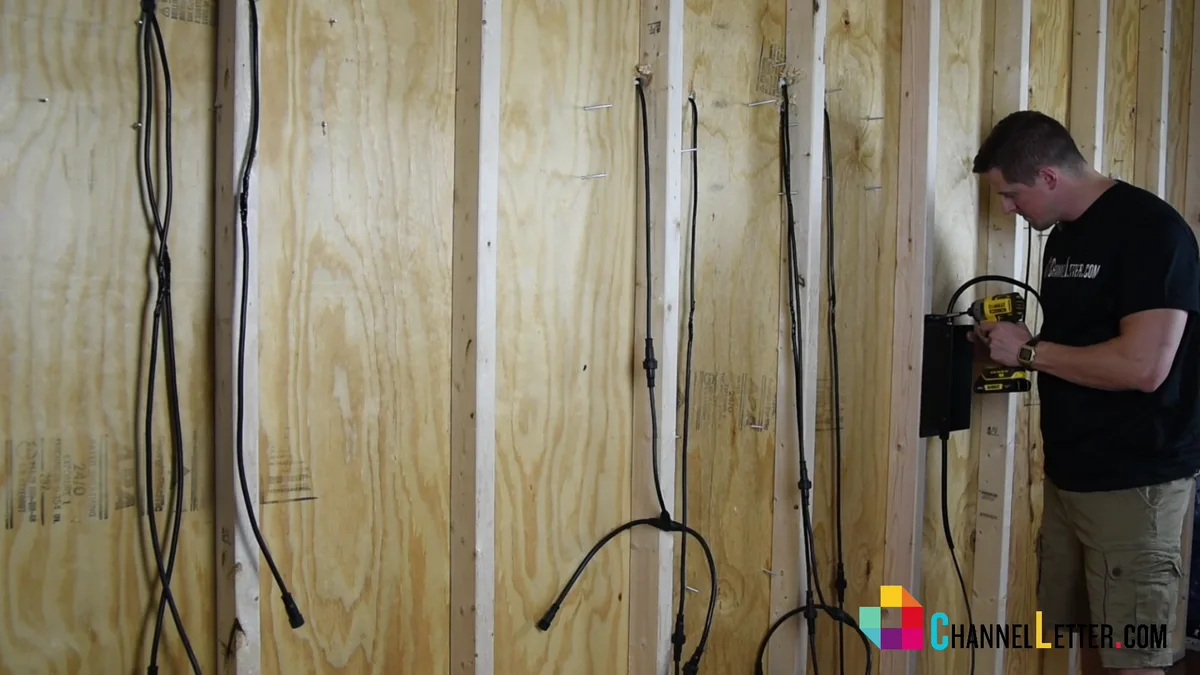
Use the supplied Installation Template to position the letters, prepare the mounting and wire openings, route the leads, secure the individual letters, connect the low-voltage harness, and test both the illuminated faces and rear halo.
This video shows a direct-mounted combination-lit sign on an open-wall training setup.

WATCH THE PROCESS
Watch the Installation Video
QUICK ANSWER
Front and Back Lit Channel Letter Installation: Quick Answer
How to Install Front and Back Lit Channel Letters






MOUNTING AND LIGHTING
How the Front and Rear Lighting Work Together
Combination-lit letters illuminate through the face and create a halo on the wall behind them.
BEFORE HANDOFF
Final Inspection

- The wordmark and individual letters are level, evenly spaced and oriented correctly.
- Each letter is secure.
- Required exterior penetrations are sealed and the wall system remains weather-managed.
- Wiring is protected, supported and kept away from sharp edges.
- The power supply is secure, protected and serviceable as required.
- Every face illuminates and the halo is consistent with the approved specification; document the completed test.
TROUBLESHOOTING
If a Face or Halo
Does Not Illuminate

De-energize the system before inspecting connectors or enclosures.

Compare connections with the project wiring diagram and confirm each approved connector is fully seated.

Check for pinched, cut, unsupported or misrouted low-voltage leads.

Have a qualified person verify the power supply and building-power side with suitable test equipment.

Contact ChannelLetter.com support with the order information, photos and a description of the issue before replacing components.
Front and Back Lit Channel Letter Installation FAQs
START YOUR PROJECT