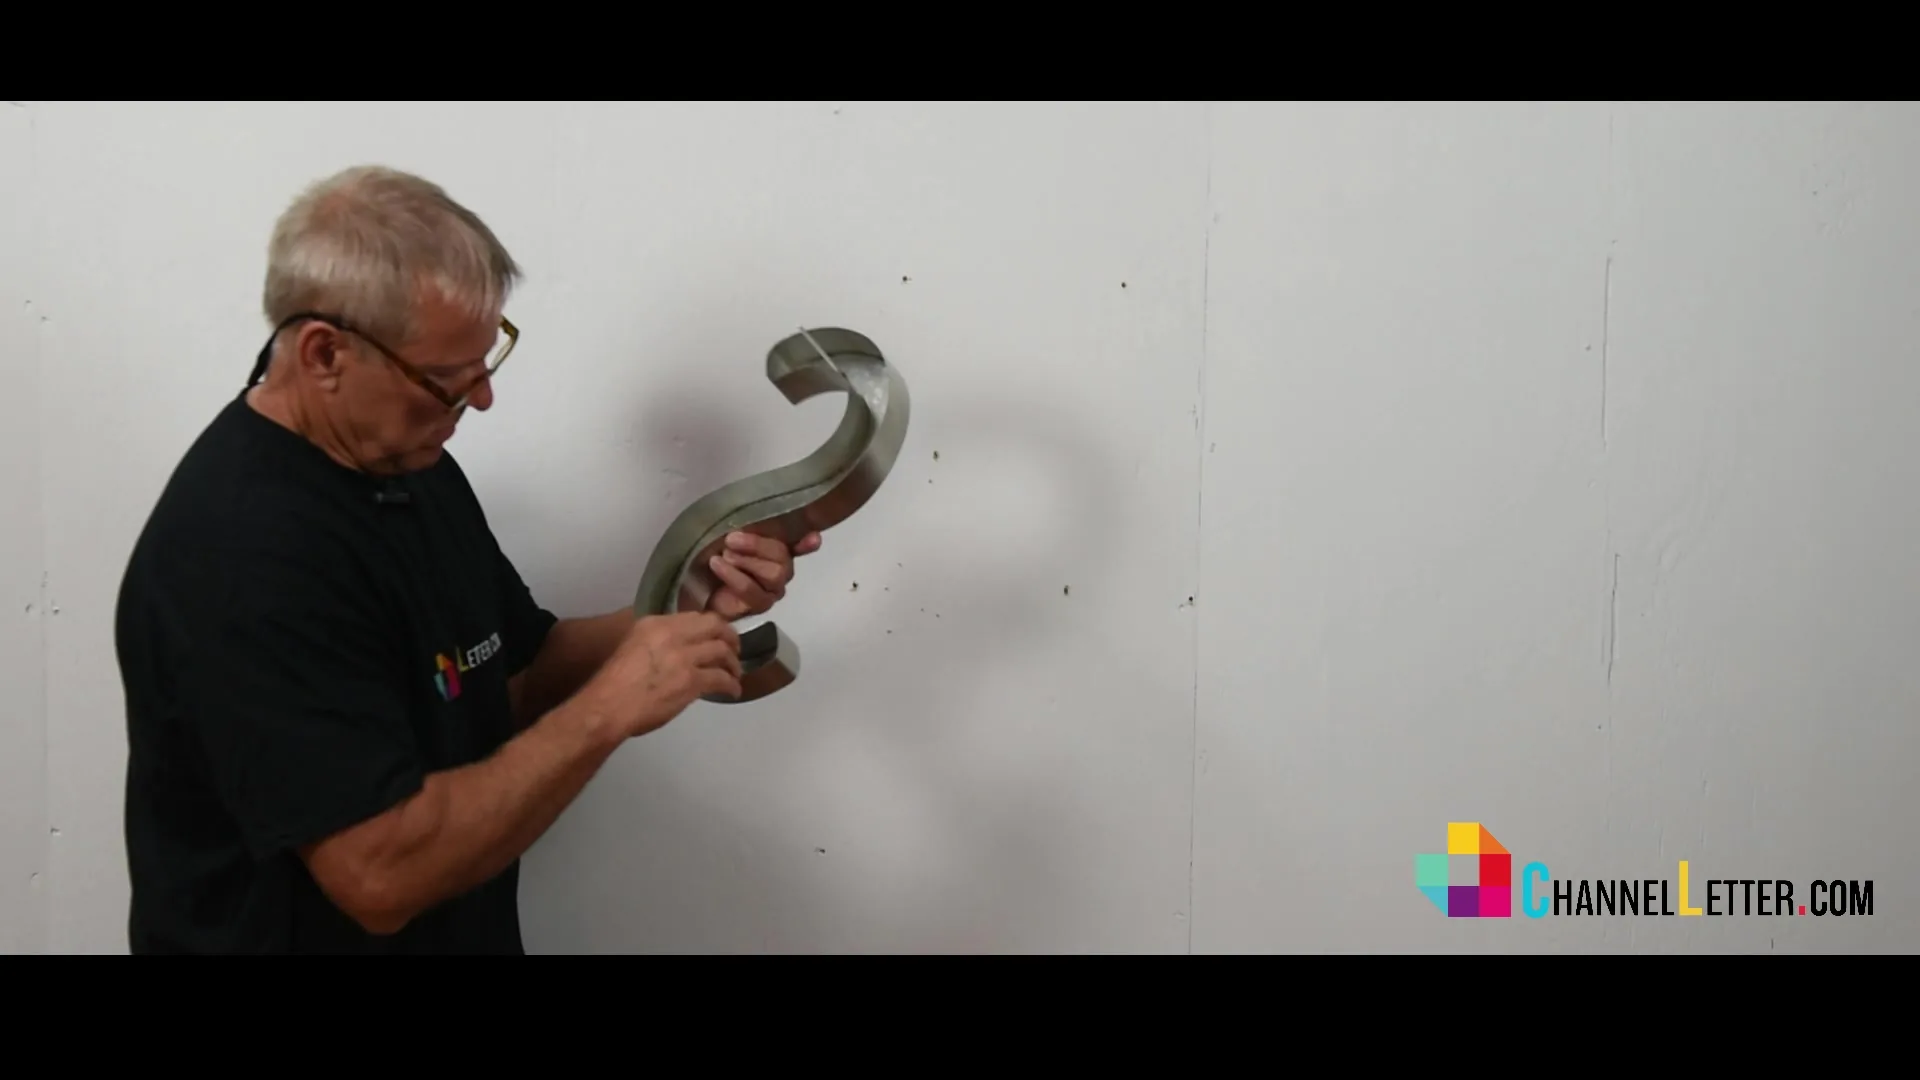
INSTALLATION GUIDE

How to Install Metal Letter Signs

Use the supplied Installation Template to position your non-illuminated metal letters, prepare the mounting holes, and install each letter with the specified stud-mount hardware.

This video demonstrates a direct stud-mount installation on an open-wall training setup. Follow the approved drawing and the instructions supplied for your order and wall.
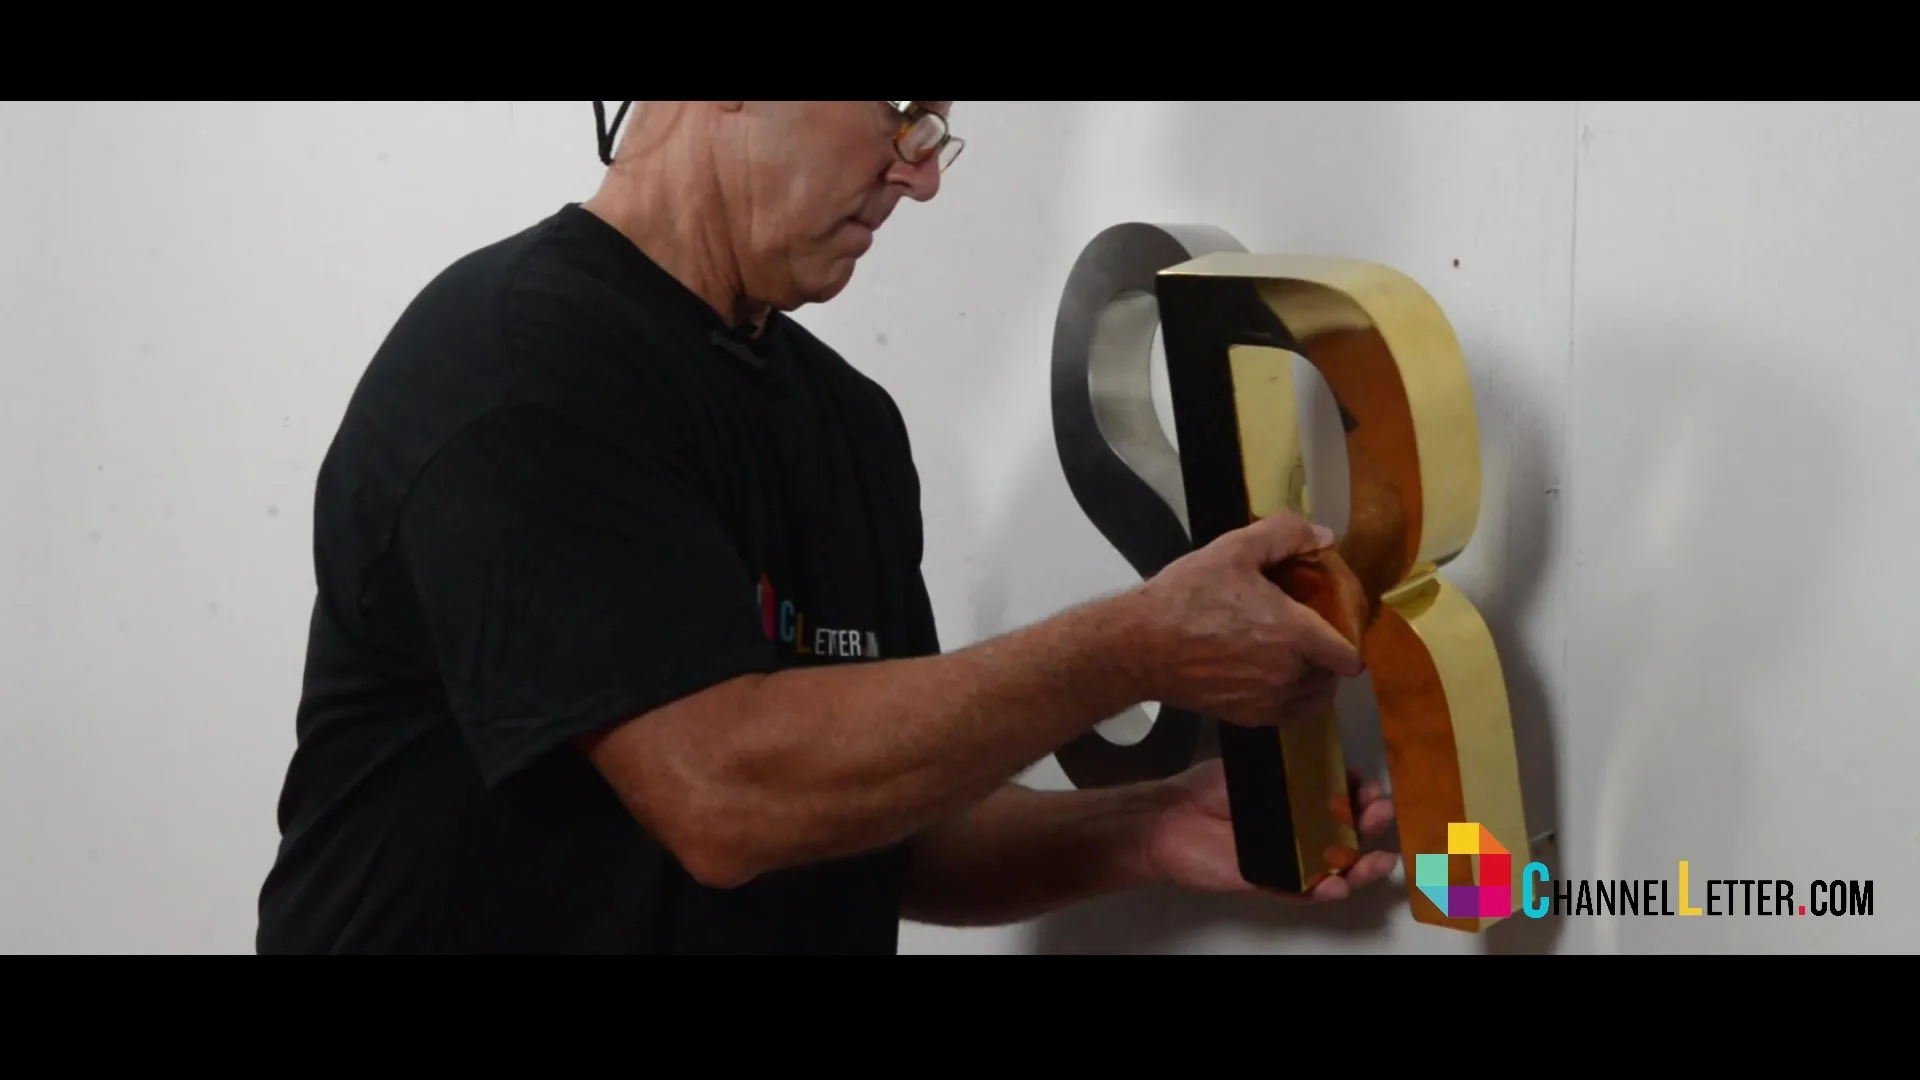
Installer positioning dimensional metal letters on a white wall

WATCH THE PROCESS

Watch the Installation Video

Video chapters

0:16

Position the Installation Template

0:24

Level and Secure the Pattern

0:35

Prepare the Mounting Holes

0:44

Inspect the Letters and Studs

0:51

Prepare the Stud Mounting

0:54

Seat the Letters

1:06

Check the Installed Letters

QUICK ANSWER

Metal Letter Installation: Quick Answer

Position and level the full-size Installation Template, transfer the stud locations, and drill for the specified mounting detail. Remove the pattern, prepare each stud as directed, and seat the letters in their corresponding holes. Check spacing, alignment, and secure attachment. The metal letters shown are not illuminated, so this method has no electrical connection.

How to Install Metal Letter Signs

Follow this sequence only after the approved drawing and wall-specific mounting details have been confirmed.
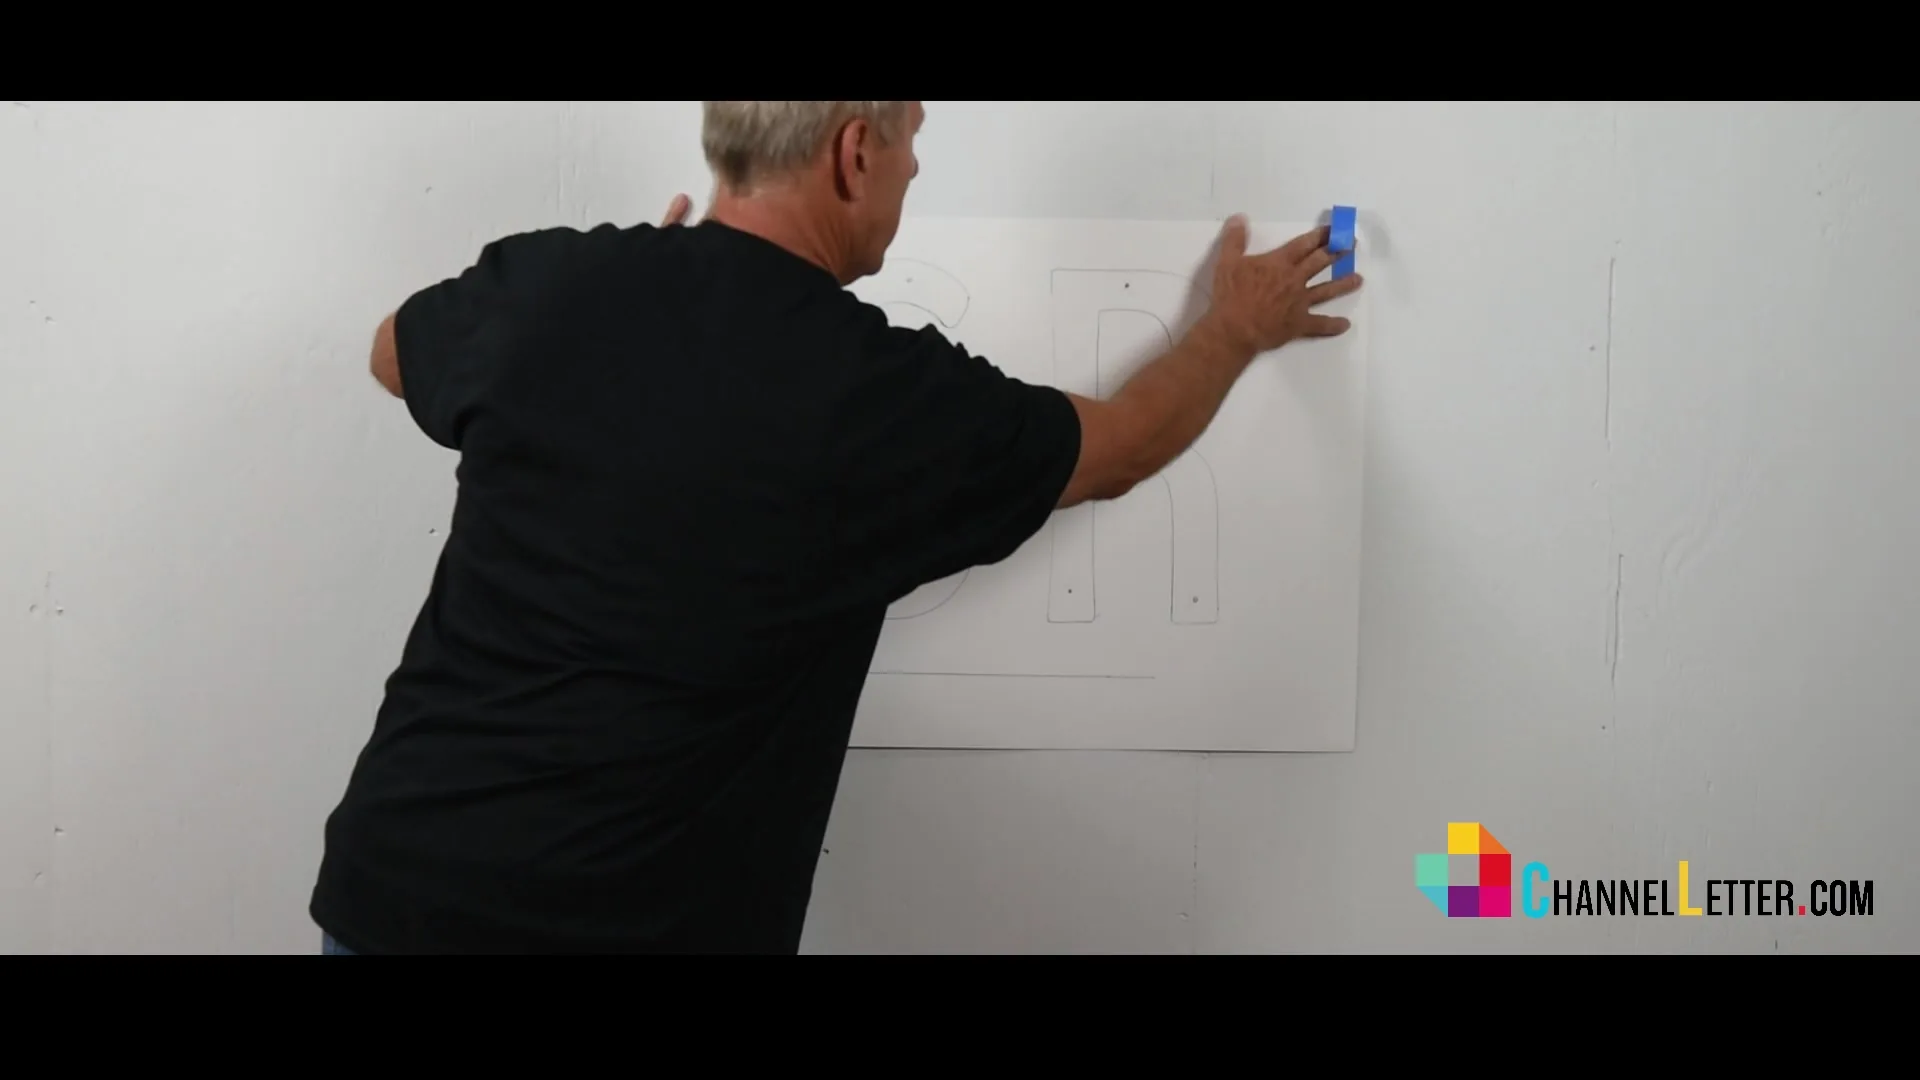
Template taped to the wall
Step 1

VIDEO REFERENCE: 0:16

Position the Installation Template

Tape the supplied full-size 1:1 installation template at the approved sign location. Confirm overall placement, baseline, spacing, and the orientation of each letter against the drawing before marking holes.

Step 2

VIDEO REFERENCE: 0:24

Level and Secure the Pattern

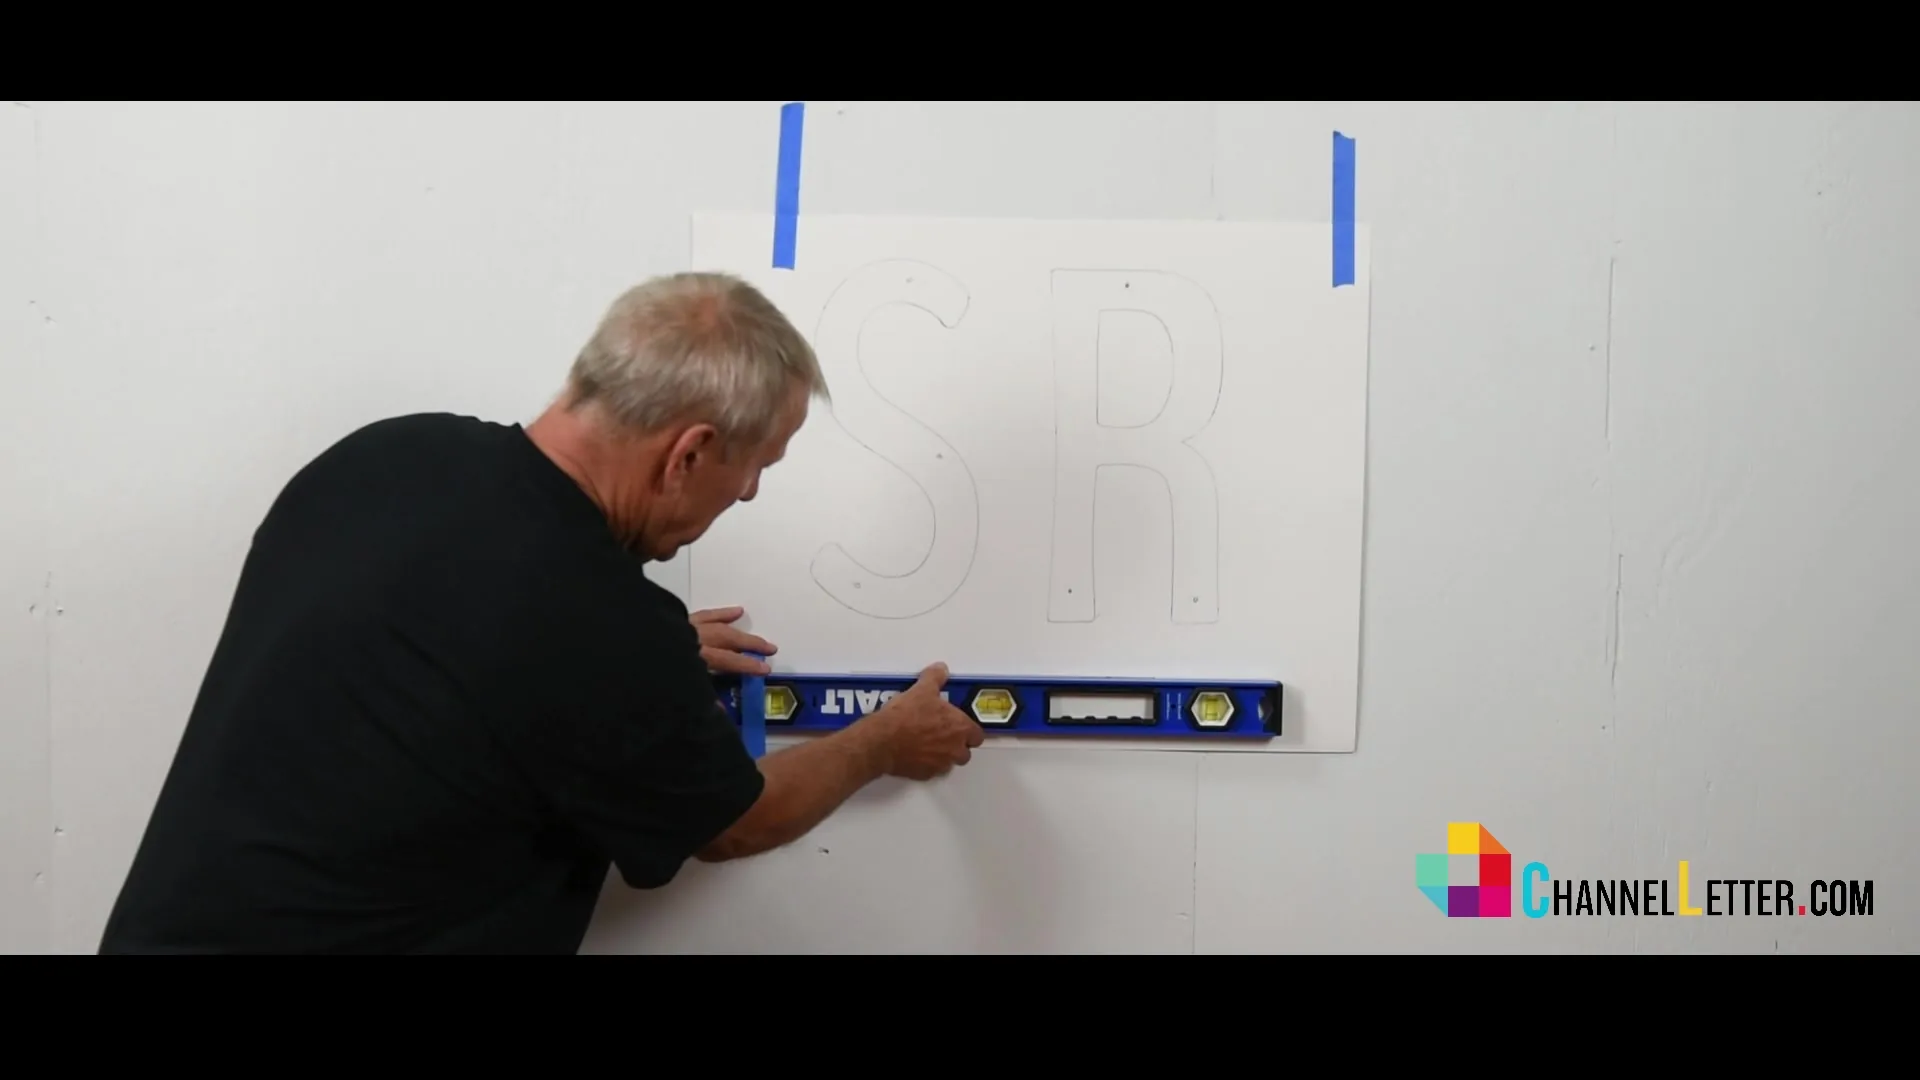
Place a level against the pattern. Adjust it to the approved baseline and tape it so that it cannot shift while you transfer the stud locations.

Installer check: Recheck the overall width and nearby clearances after leveling.

Installer leveling the template
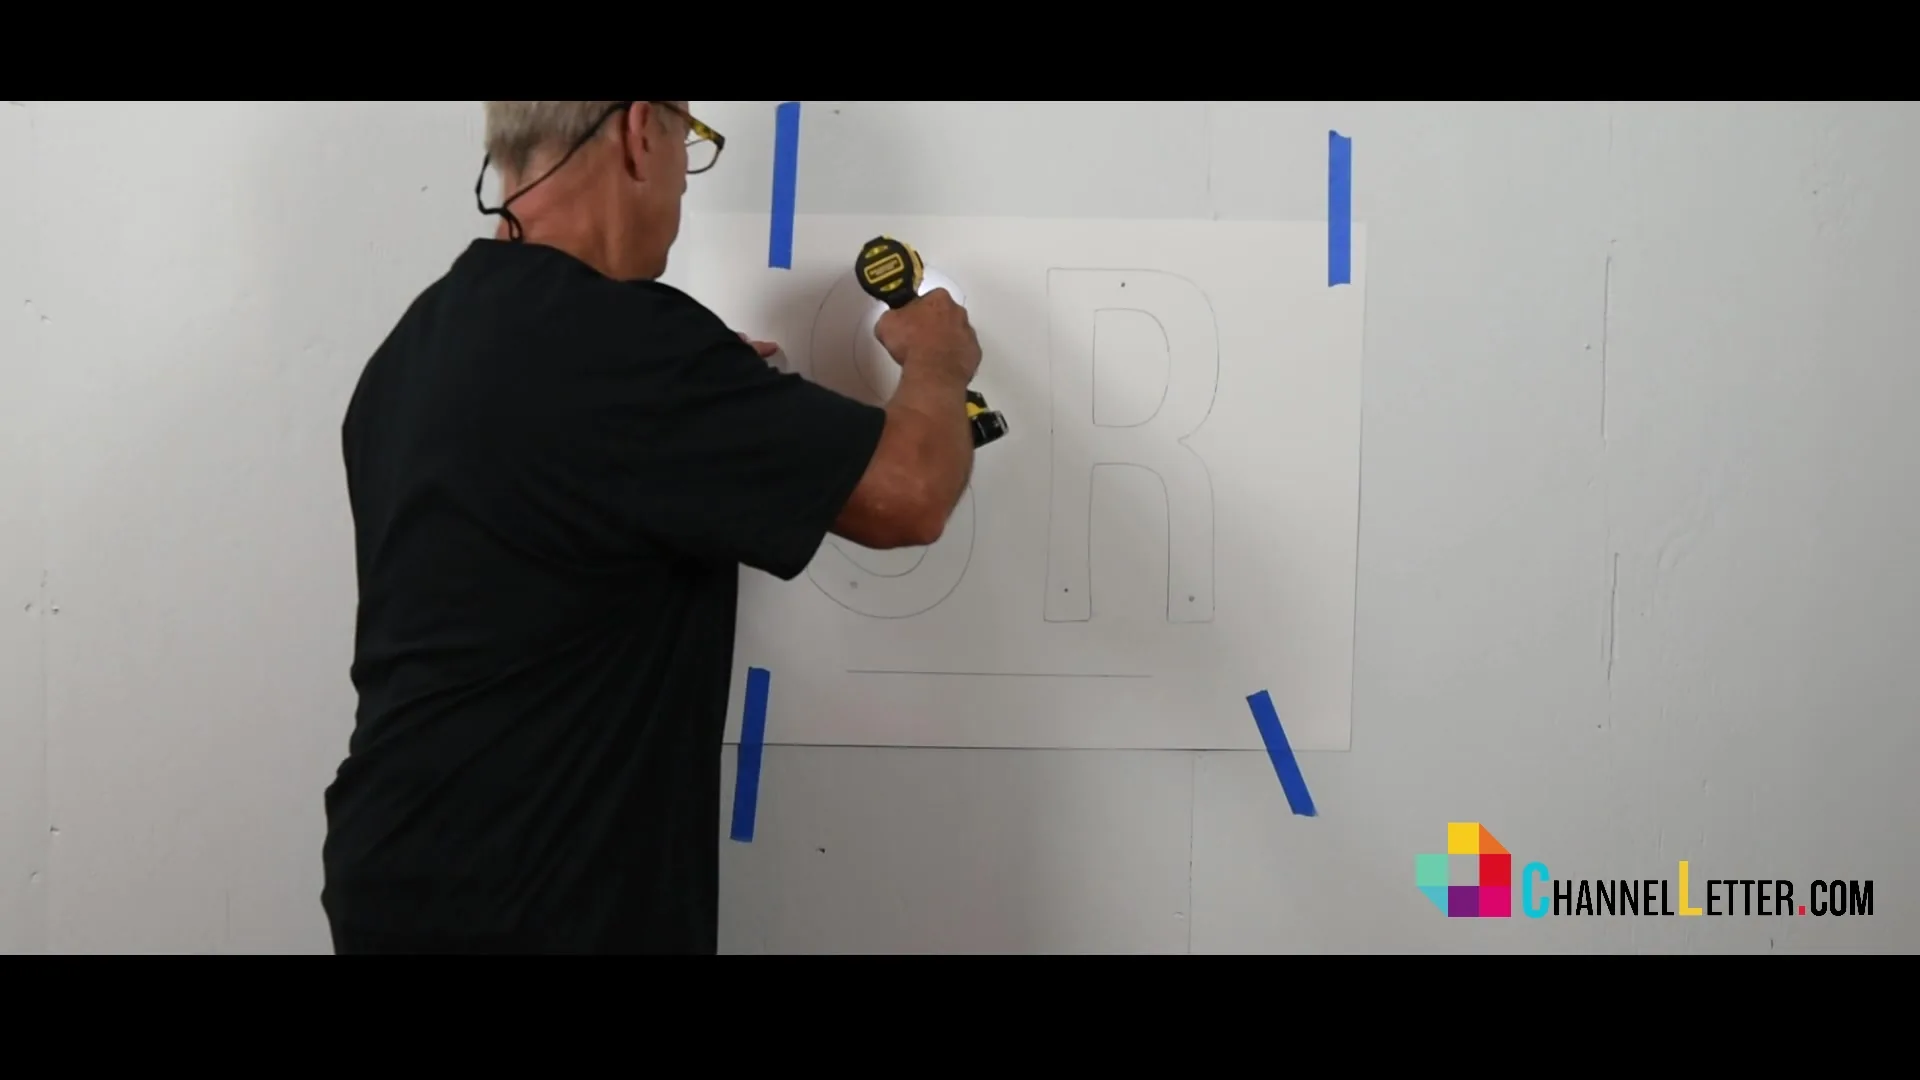
Drilling the marked stud positions
Step 3

VIDEO REFERENCE: 0:35

Mark and Drill the Stud Locations

Drill on the locations shown on the template. Confirm each mark against the correct letters and logo signs. Drill to the specified diameter and depth for the supplied studs.

Step 4

VIDEO REFERENCE: 0:44

Remove the Pattern and Inspect the Letters

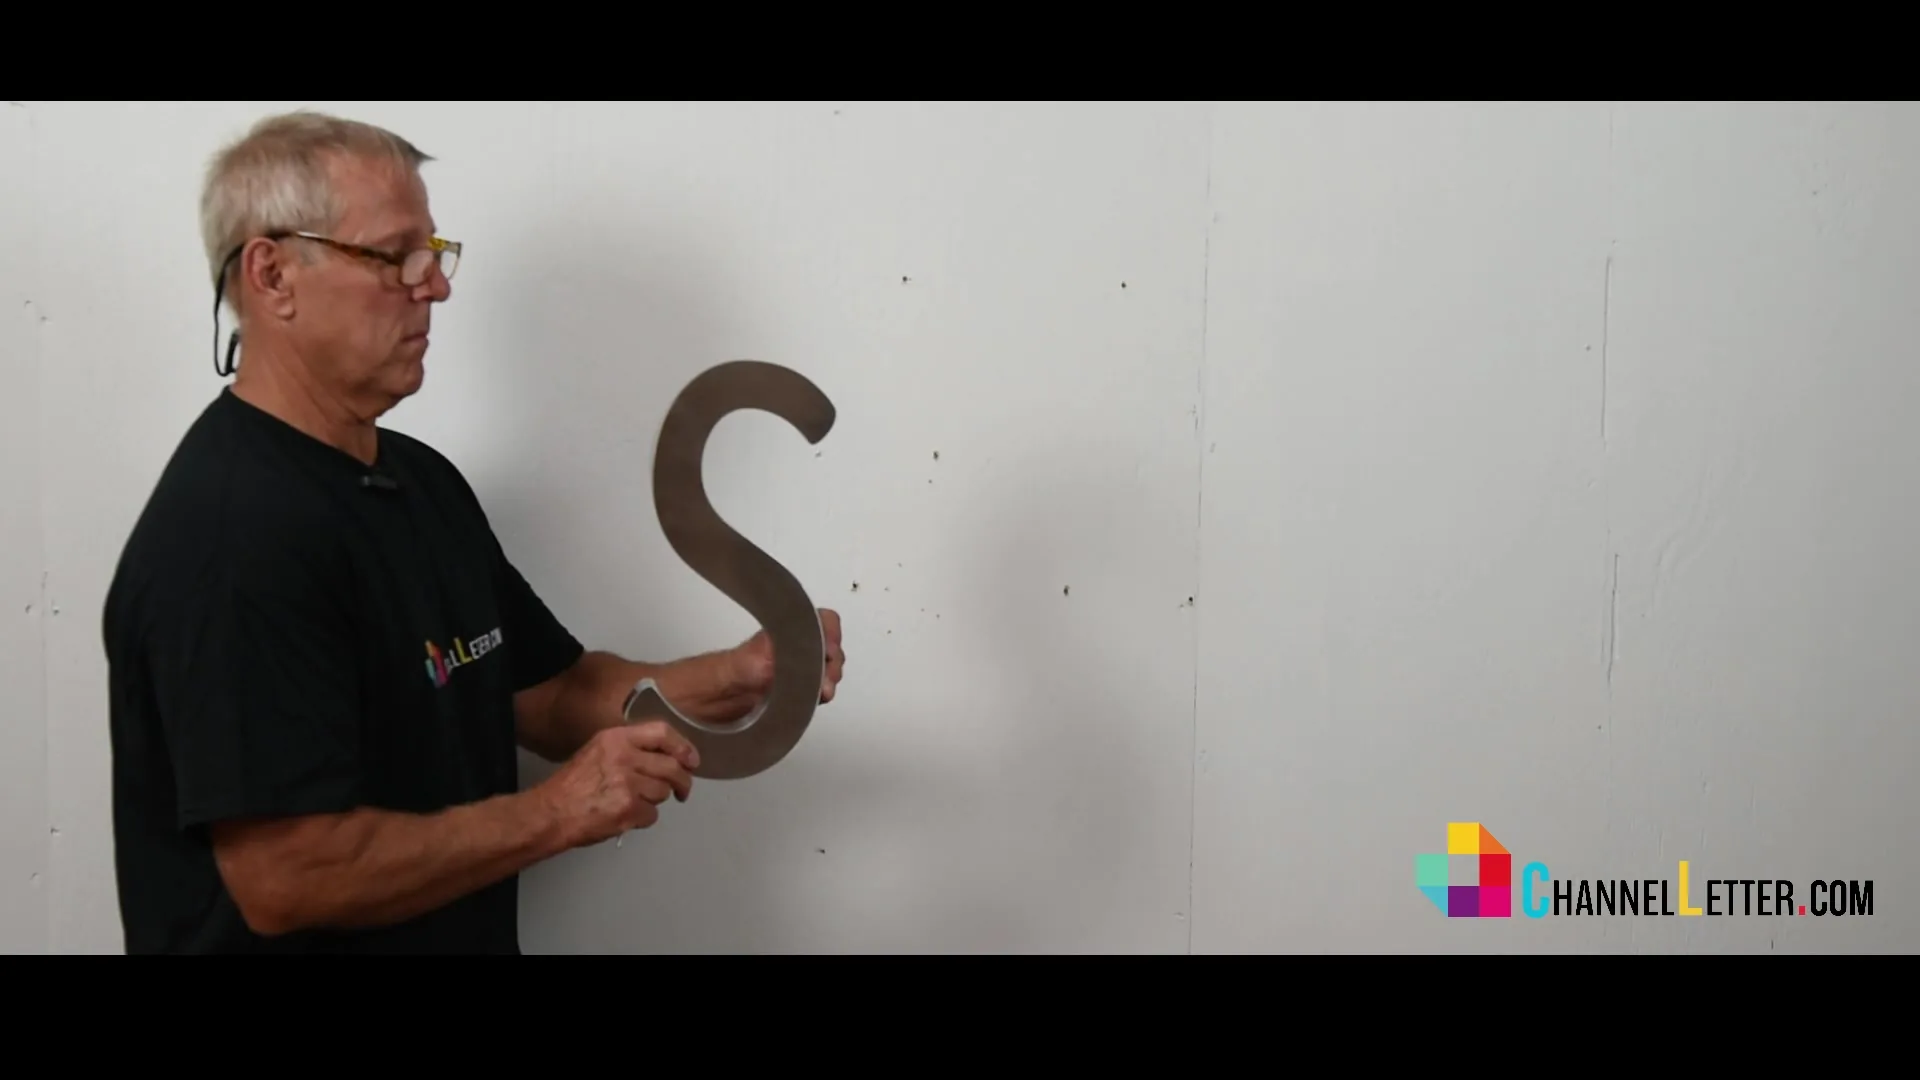
Remove the pattern after the holes are prepared. Identify each letter, its orientation, and the studs on its back. Protect finished metal faces while handling.

Installer check: Check that the studs align with their holes before applying the specified adhesive or permanently seating a letter.

Examining a metal letter and studs
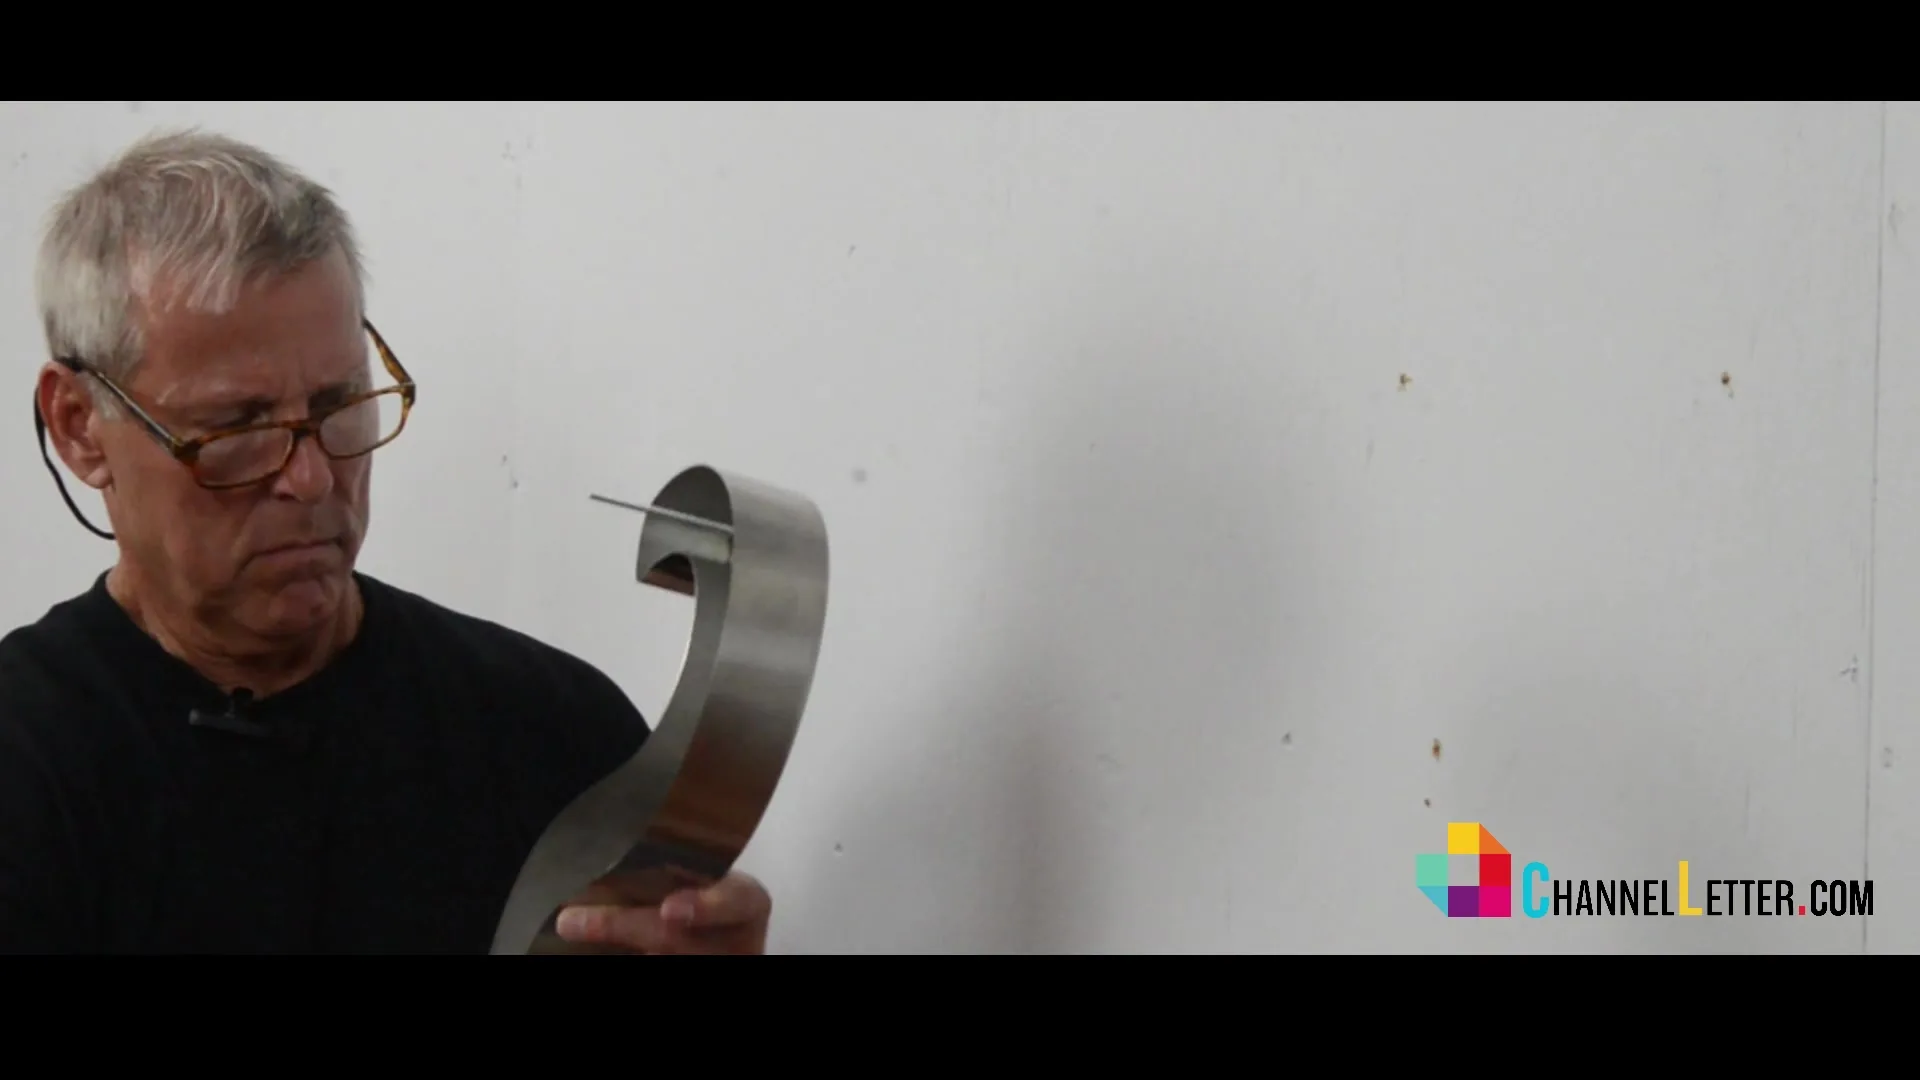
Preparing a metal letter stud
Step 5

VIDEO REFERENCE: 0:51

Prepare the Stud Mounting

Apply the silicon adhesive to the screw rods.

Step 6

VIDEO REFERENCE: 0:54

Align and Seat Each Letter

Match each stud to its prepared hole, guide the letter straight into place, and apply even pressure as specified. Repeat for the remaining letters while preserving the pattern’s spacing.

Installer check: Do not twist a finished letter or force a misaligned stud into the wall.

Placing the dimensional metal letter

Other Mounting Options

This video shows a direct stud-mount method. Metal letter signs mounting options also include angle code installation option.

Final Inspection

Compare the finished installation with the approved drawing. Check that each letter follows the baseline, spacing is consistent, finished surfaces are clean, and every letter is seated securely. Confirm the specified adhesive cure and any required exterior wall details before loading or cleaning the sign.
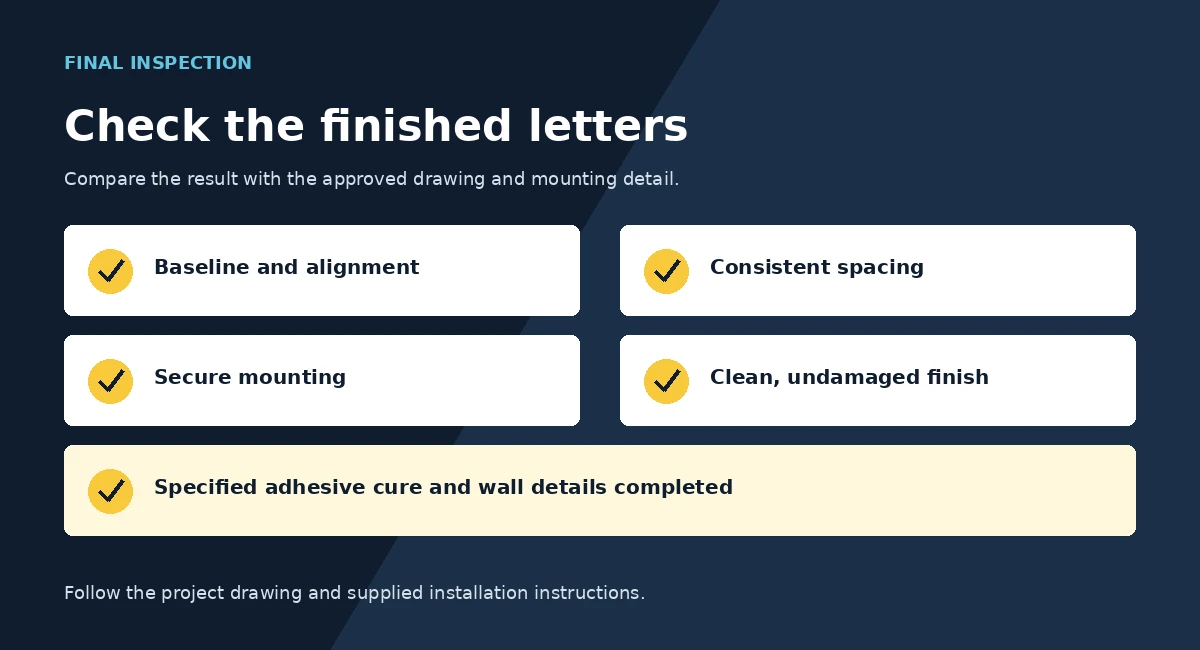
Final inspection checklist for installed metal letters

If a Letter Does Not Sit Correctly

Check the pattern orientation, letter identification, hole locations, stud alignment, and debris inside the holes. Review the specified adhesive placement and cure instructions. If the hole or substrate is unsuitable, stop and obtain a revised mounting detail rather than forcing the letter.

Metal Letter Installation FAQs

No wiring is shown or required for the non-illuminated metal letters in this demonstration.
It establishes the sign position and the intended stud locations. Confirm its dimensions, baseline, and level before drilling.
Stop and check the letter orientation, template, and hole layout. Do not force the stud or distort the finished letter.

START YOUR PROJECT

Ready to Design Your Metal Letters Sign?

Design in minutes using our easy online sign designer.

Click here if you have a Custom Design or need help with your Sign Design.