
INSTALLATION GUIDE
How to Install Face Lit Channel Letter Signs
Face lit channel letters, also called front lit channel letters, glow through the acrylic face of each letter, and this guide shows you how to install them from template to final test.
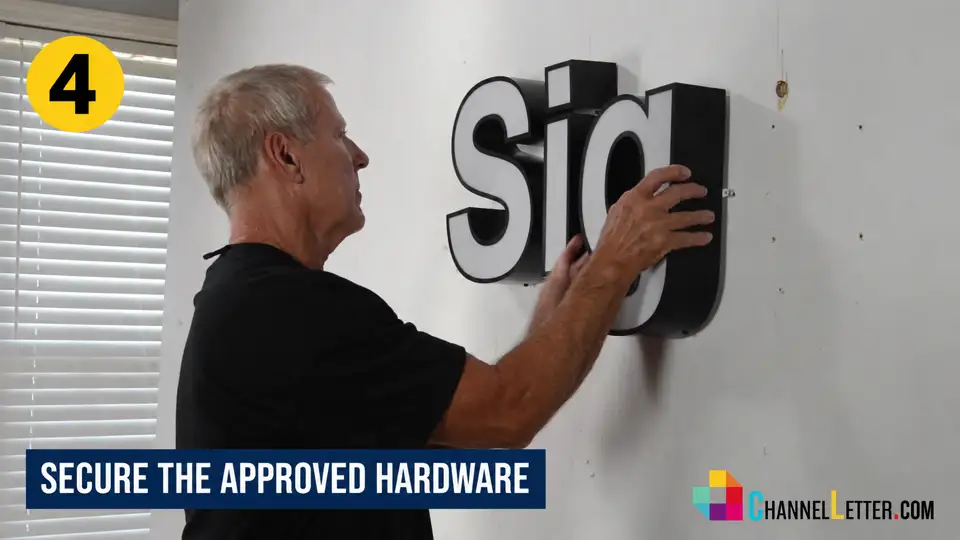
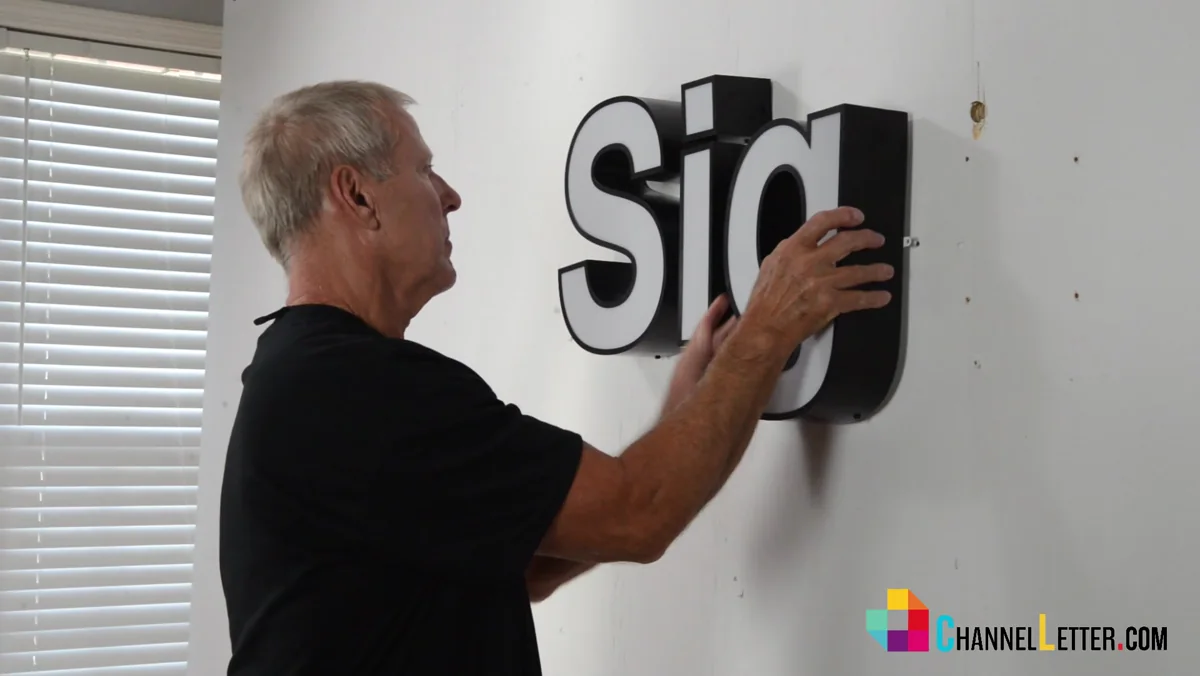
This installation video demonstrates a direct or flush mount installation with two hardware options: threaded studs and side angle brackets or clips.
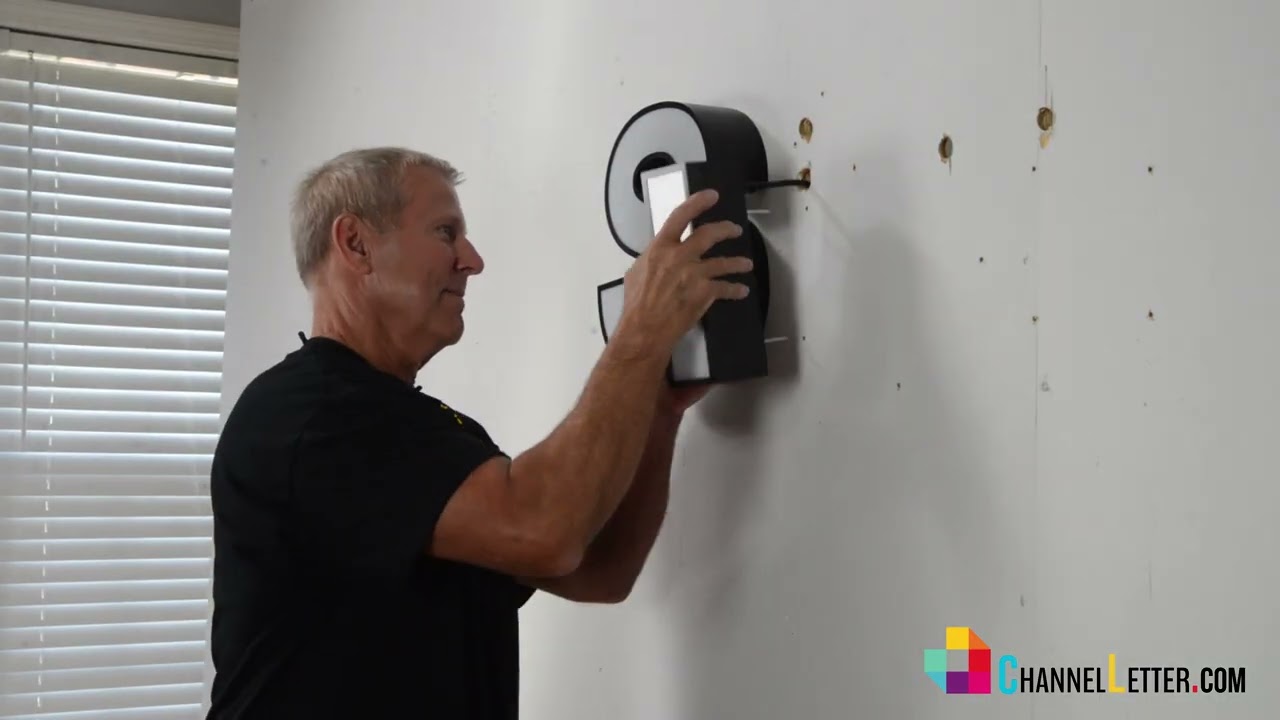
WATCH THE PROCESS
Watch the Installation Video
QUICK ANSWER
Face Lit Channel Letter Installation: Quick Answer
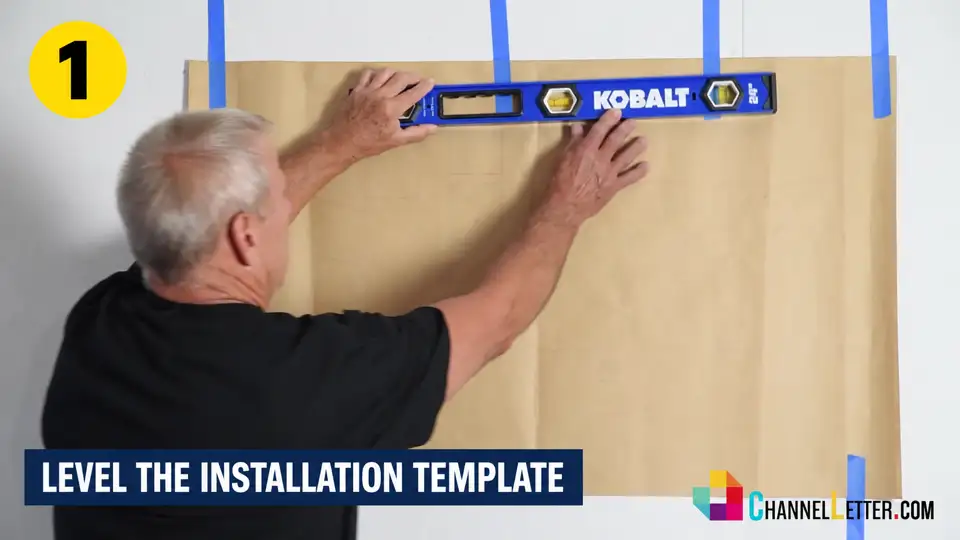
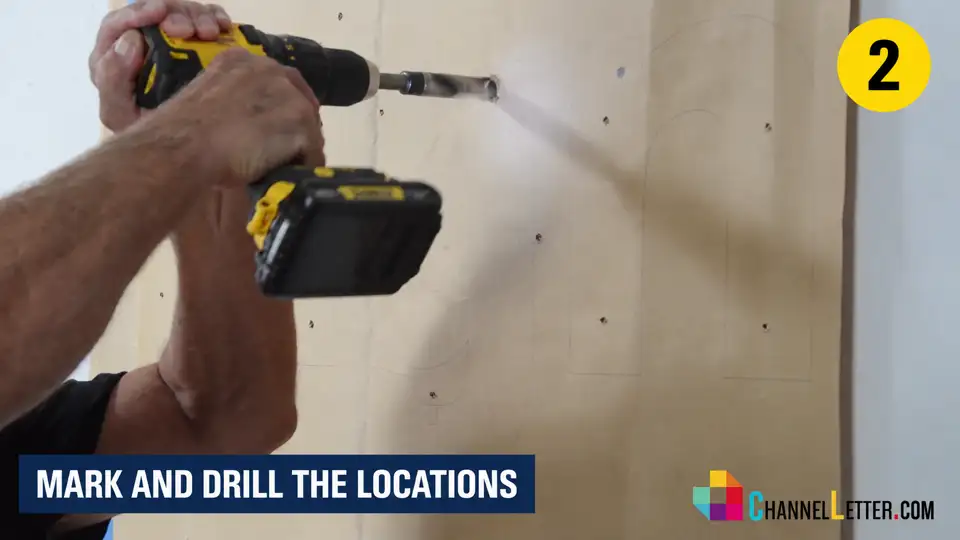
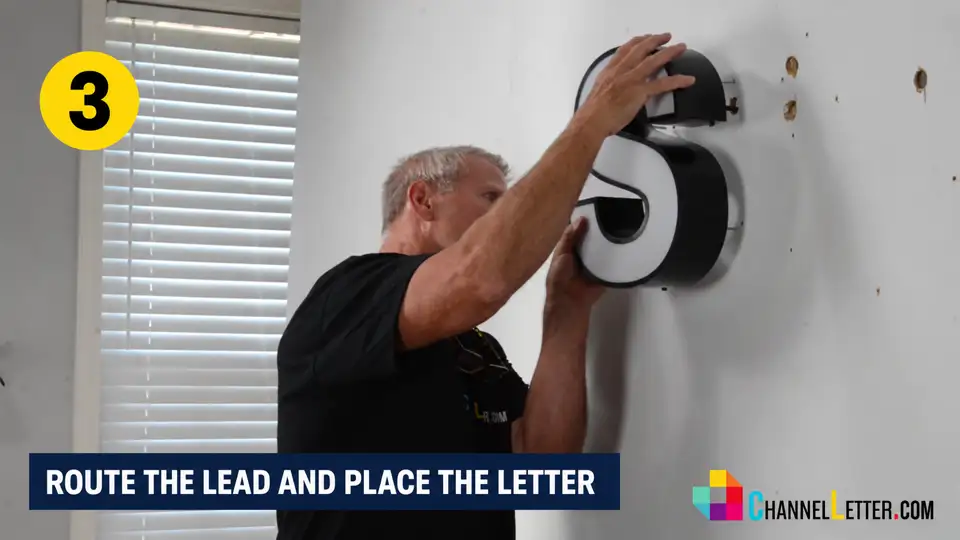
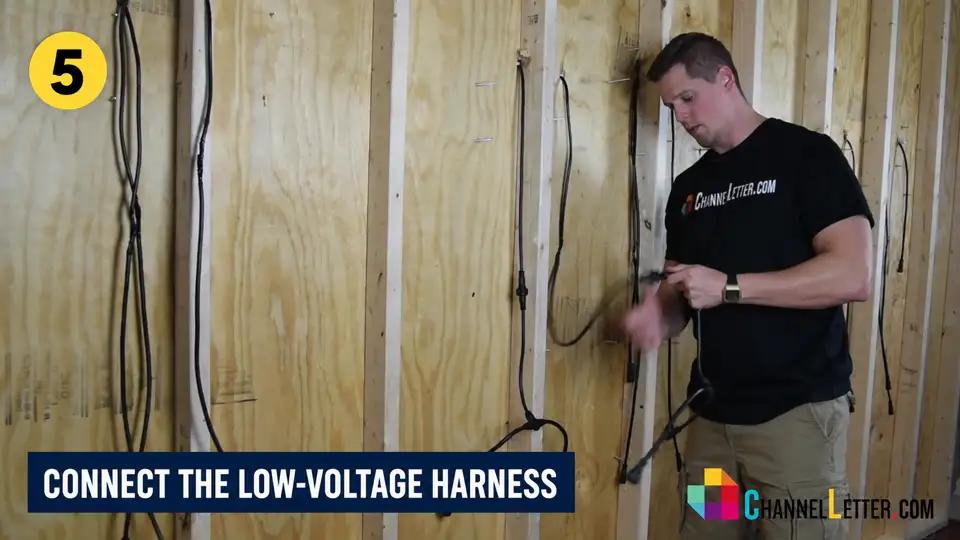
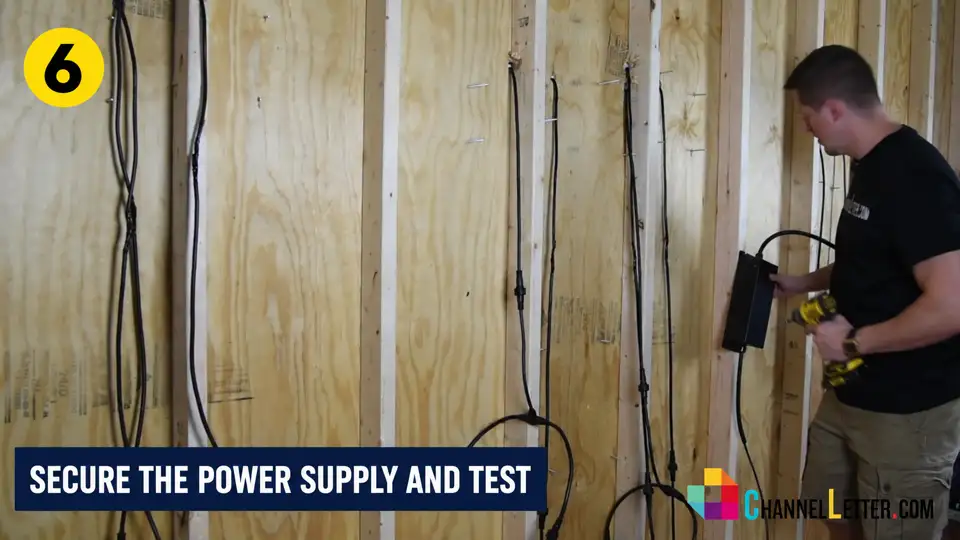
How to Install Face Lit Channel Letters







BEFORE HANDOFF
Final Inspection
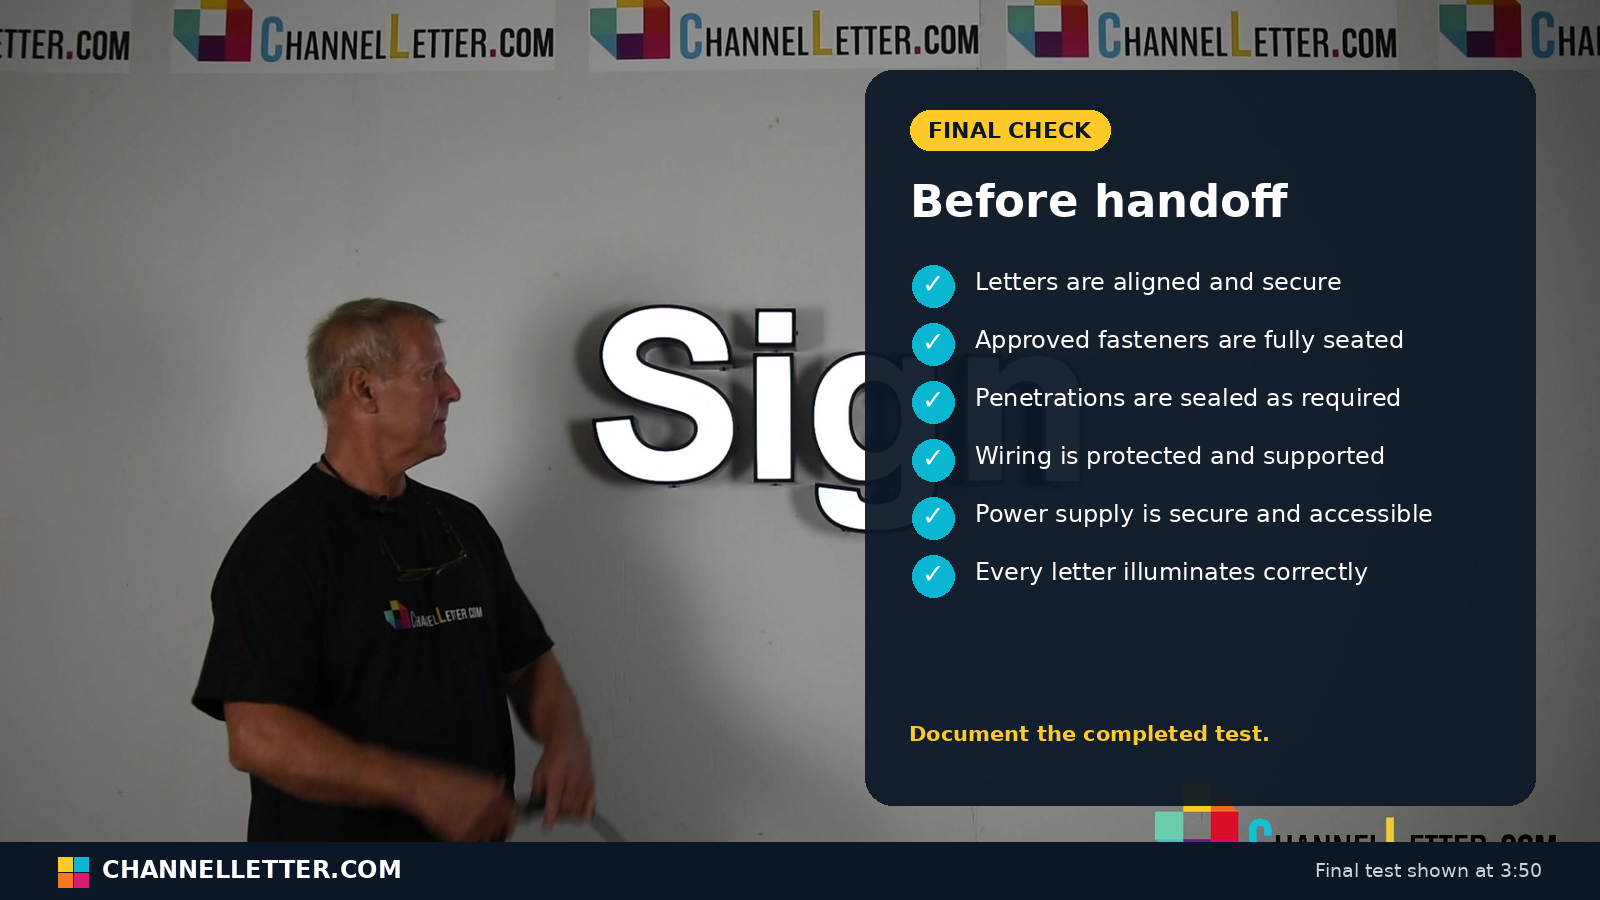
- The logos and individual letters are leveled, evenly spaced and oriented correctly.
- Each letter is secure and the cabinet is not distorted.
- Required exterior penetrations are sealed and the wall system remains weather-managed.
- Wiring is protected, supported and kept away from sharp edges.
- The power supply is secure, protected and serviceable as required.
- Every letter illuminates consistently and the completed test is documented.
TROUBLESHOOTING
If a Letter Does Not
Illuminate

Turn the power off before inspecting connectors or enclosures.

Ensure that the all the connections of the Plug & Play wires are connected securely.

Check for pinched or cut wires

Have a qualified person verify the power supply and building-power side with suitable test equipment.

Contact ChannelLetter.com support with the order information, photos and a description of the issue before replacing components.
Face Lit Channel Letter Installation FAQs
START YOUR PROJECT